You can maximize the performance of your Windows server with PHP management. Learn how to install PHP Manager on Windows with IIS in a few simple steps. Enhance your server’s capabilities and administer PHP with simplicity. Explore our step-by-step tutorial today!
Here’s a guide to walk you through the process:
- Download the PHP from the official website https://www.php.net/downloads.php. Download the Non-Thread Safe (NTS) VS16 x64 PHP for Windows .zip

- Extract the downloaded PHP for Windows .zip file
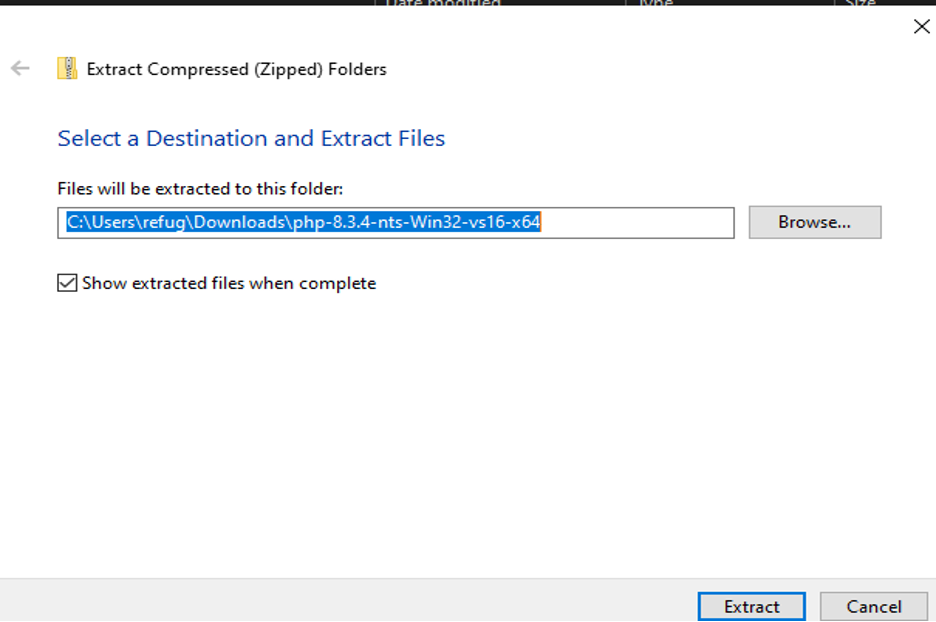
- Rename the extracted folder PHP

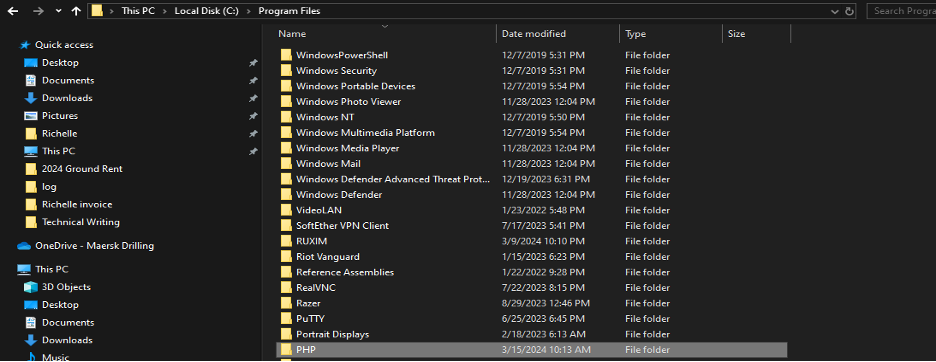
- Cut the PHP folder to a safe location to run from, such as C:\Program Files
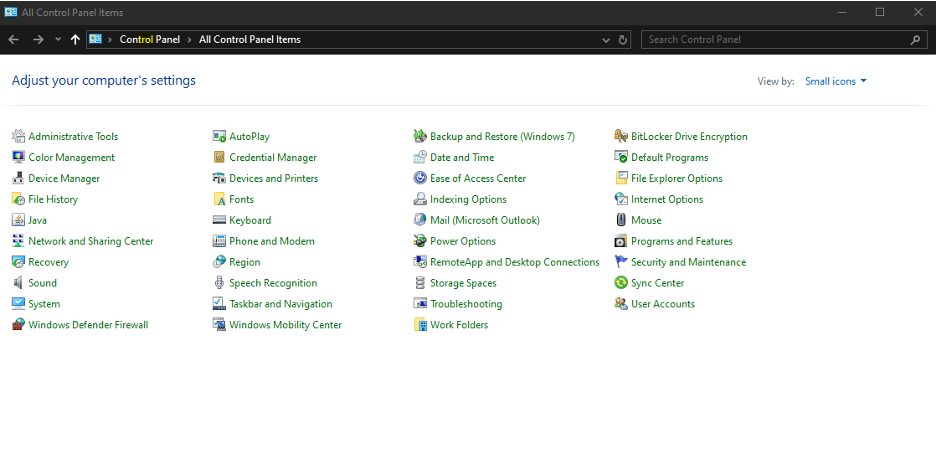
- Click the Start button ≫ Search Control ≫ Click Control Panel
- Click on System ≫ Advanced system settings
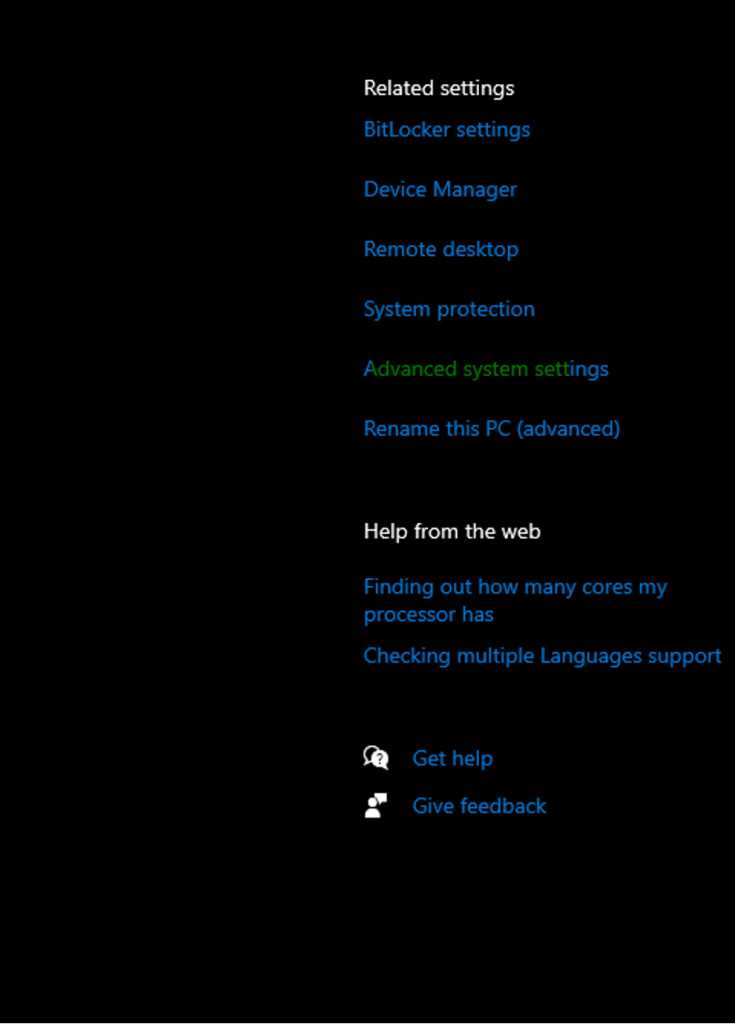
- Click the Environment Variables
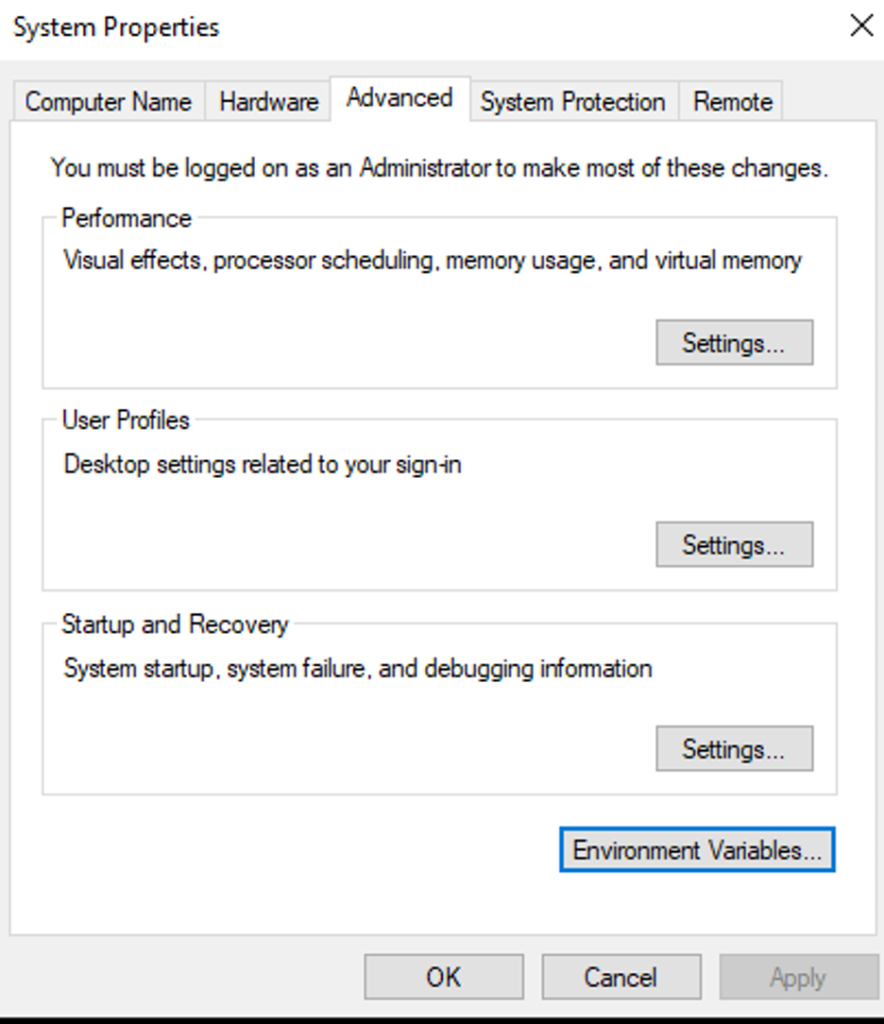
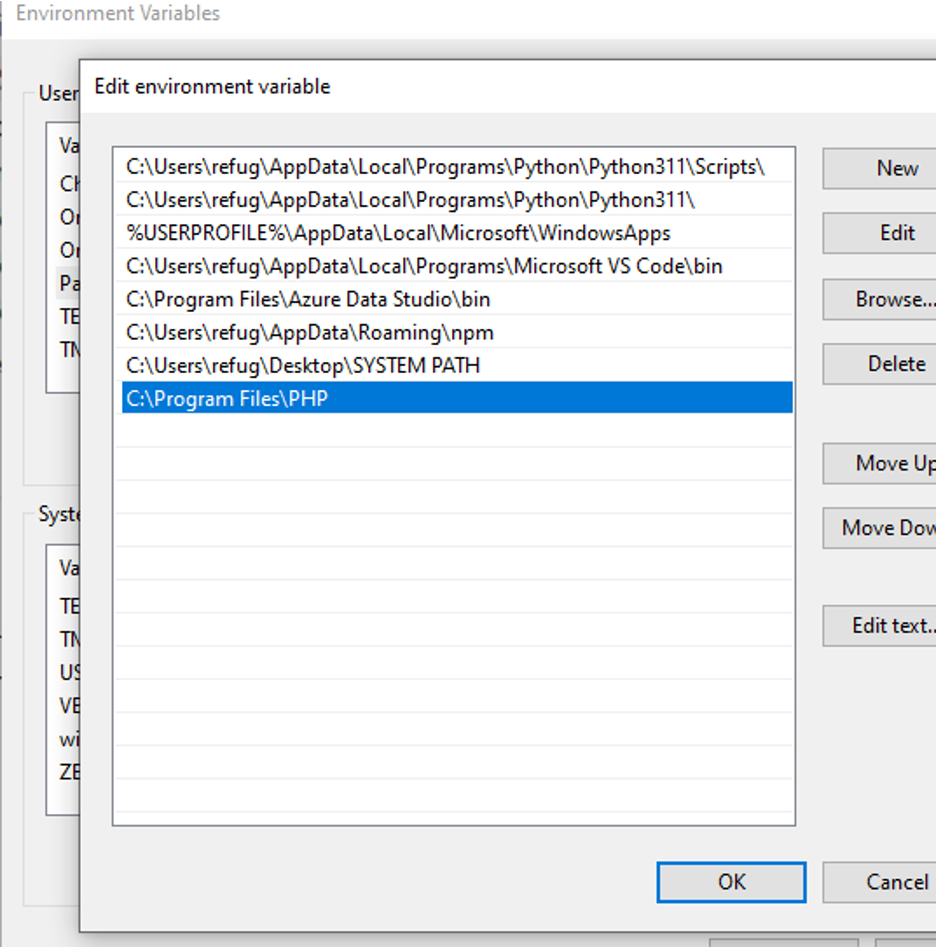
- Edit the System Path variable, Click the New button and add the PHP installation directory, Click OK to all open dialog windows.
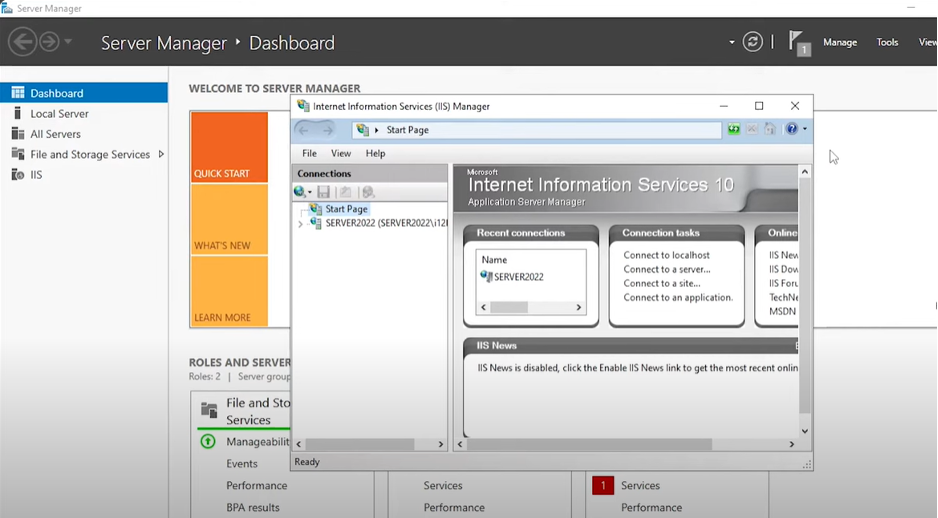
- Open Server Manager and Click IIS.
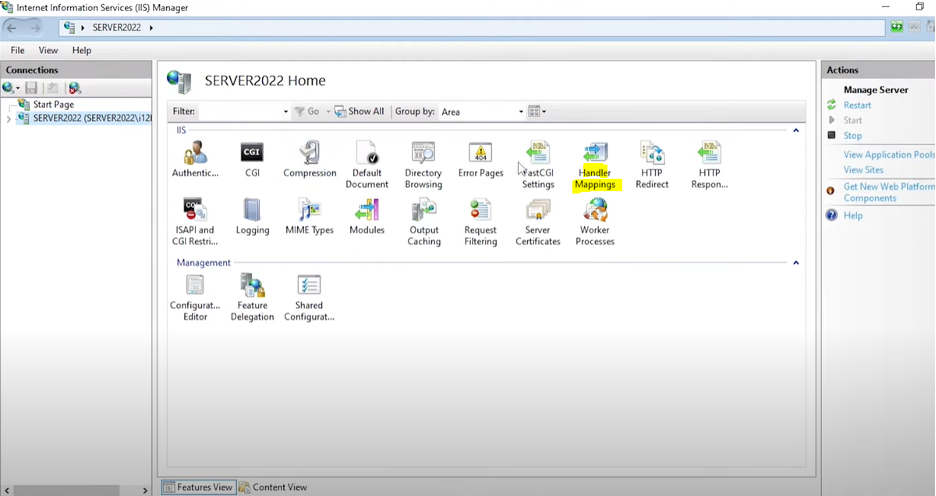
- Click the server name on Left side of navigation panel, and double click Handler Mappings.
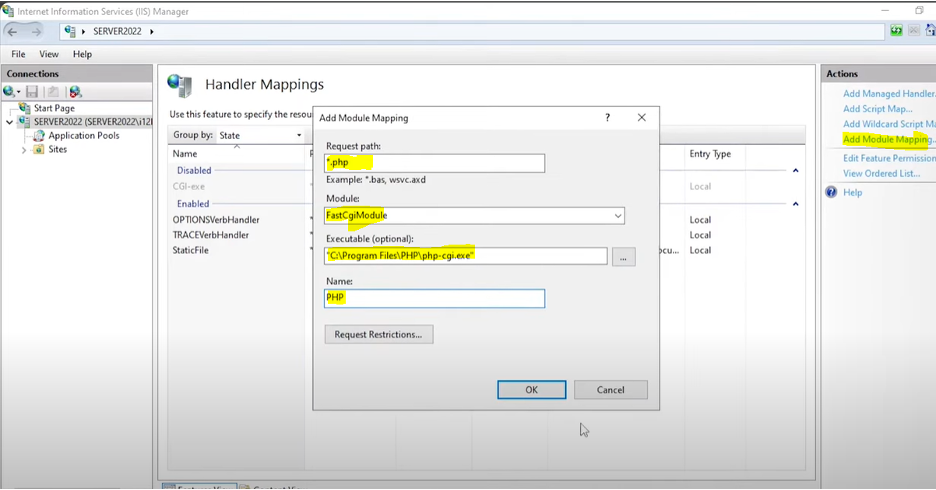
- Click Add Module Mapping on top right and input details as follow and Click OK.
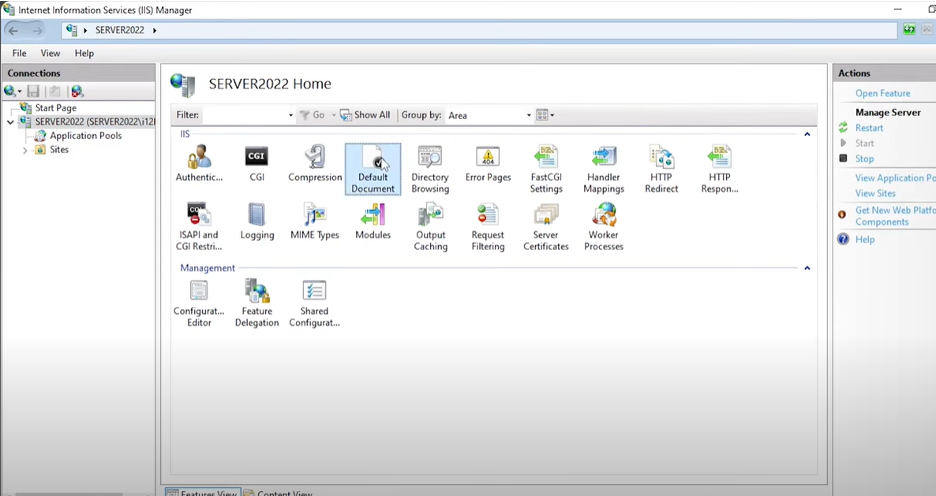
- Navigate to Left Side, click Server Name and double click Default Document.
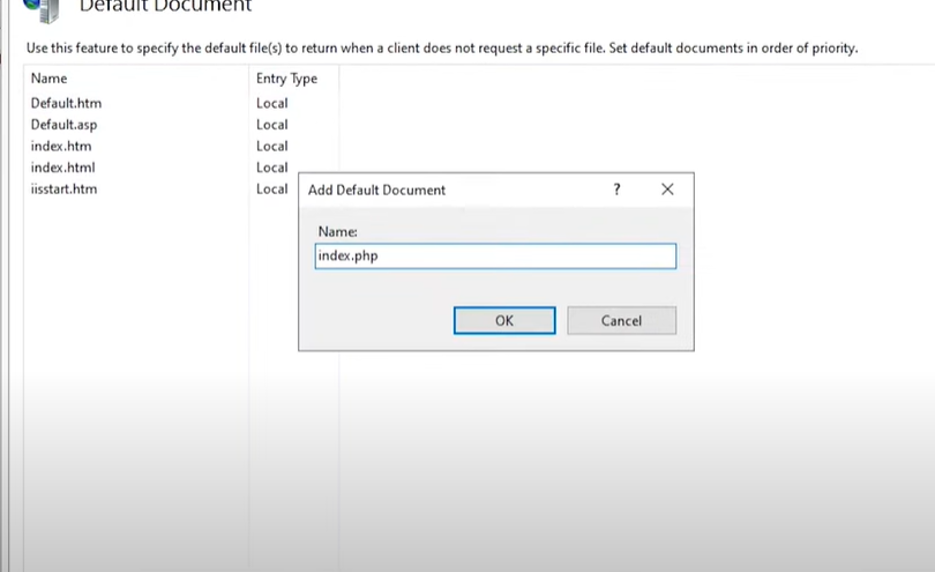
- Click the Add action on the right side and Add index.php and click OK.
- Stop and start the server for changes to take effect. Right click the server name on left side then stop/start.

- Finally, test the installation. Open the web browser and navigate on DNS or IP of the host. You have now a working PHP. Details of your PHP should be shown like below.


