Wind Layer Blog

How to Install WordPress on a Windows Server with IIS

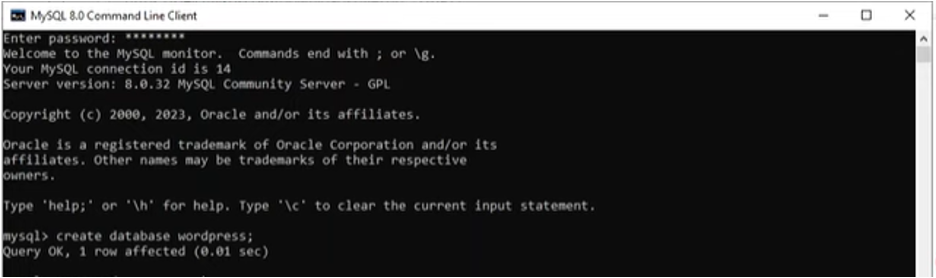
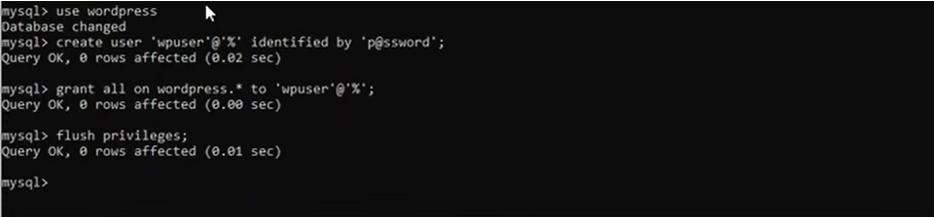
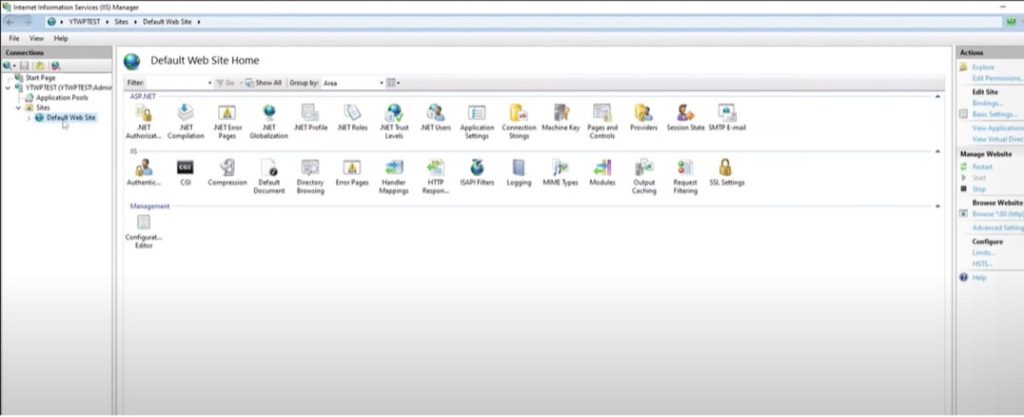
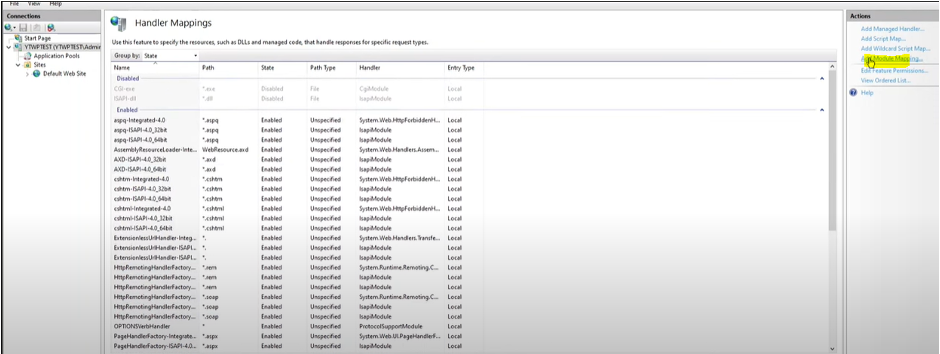
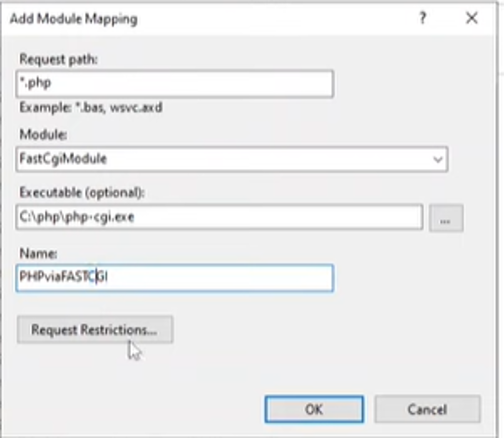
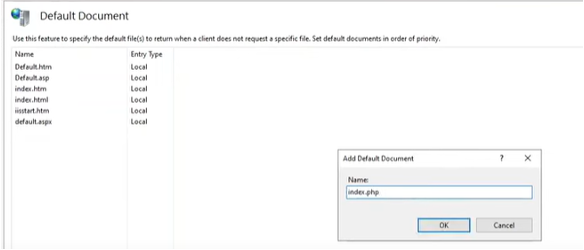
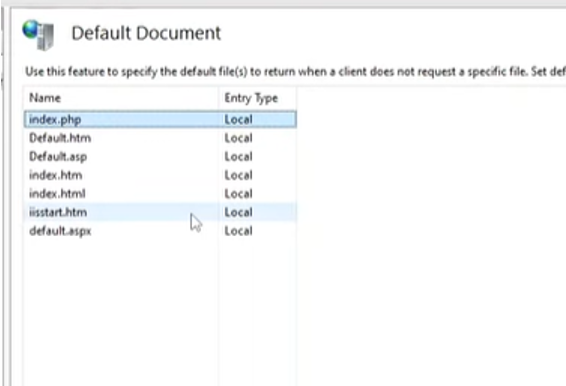
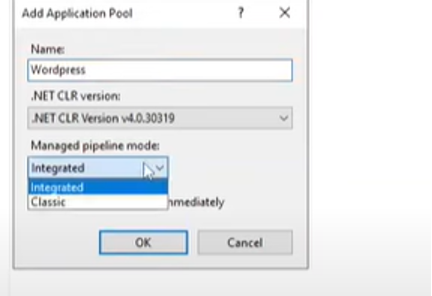
Before installing WordPress, you should have the following installed and configured on your server.

  • IIS
  • PHP version 7.4 or greater
  • MySQL version 8.0 or higher or MariaDB version 10.4 or higher.


  1. Login to mysql database and setup the wordpress database.
    Database name: wordpress
  • Database user: wpuser  select name of user you prepared.
  • Account password: p@ssword  select password of your choice
  1. Launch IIS, go to Sites and Default Website at the left corner.
  1. Configure Handler Mappings, go to Add module mapping on right hand side.
  1. Input needed parameters and click OK
  1. Modify Default document so IIS will know on where to load the file.
  1. Go to Add Application Pool and input required details
  1. Proceed with the installation of wordpress. Download the wordpress files on official site (http://wordpress.org/download/).
  1. Extract the files on your preferred location.
  1. Go to wordpress folder, rename wp-config-sample.php to wp-config.php.
  1. Modify the database settings that was created on previous steps. Save and exit. • Database name • Database user • Database password
  1. Finally, install wordpress. Go to browser and put http://localhost/wordpress/wp-admin/install.php
  1. Input required parameters and click install WordPress.
  1. At the next page, success installation should display.
  1. Login using the credential created.
  1. Here you go wordpress is installed.
Share the Post:

Related Posts