Learn how to install Node.js and NPM on Windows with ease. Follow this detailed guide to swiftly set up the tools required for modern web development.
Here’s a guide to walk you through the installation process:
- Download the Node.js installer from the official website https://nodejs.org/. Click on either the LTS or Current versions and the installer will start downloading.

- After download is complete, double-click on the downloaded file to run the installer.

- Tick on the “I accept the terms License Agreement” then click “Next”.

- You may choose your preferred installation location by clicking on the “Change” button. You may also install it in the default directory in your Program Files. Click “Next” to continue.
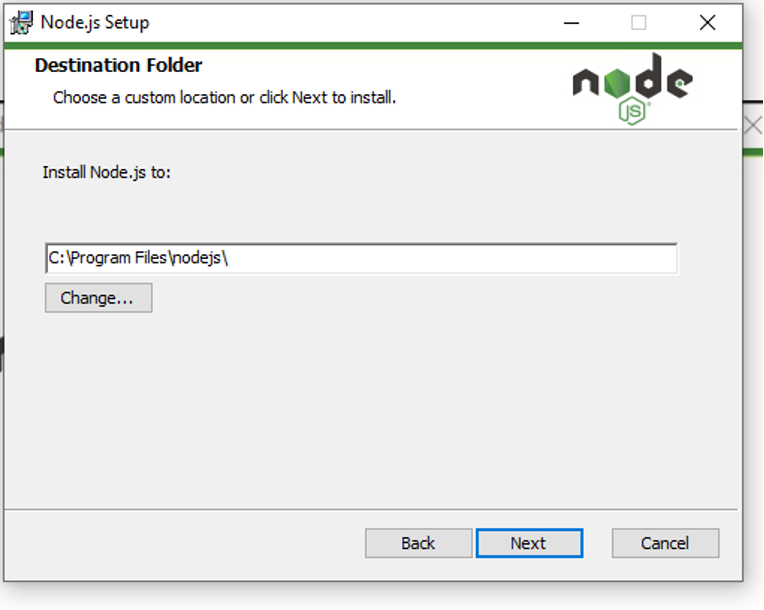
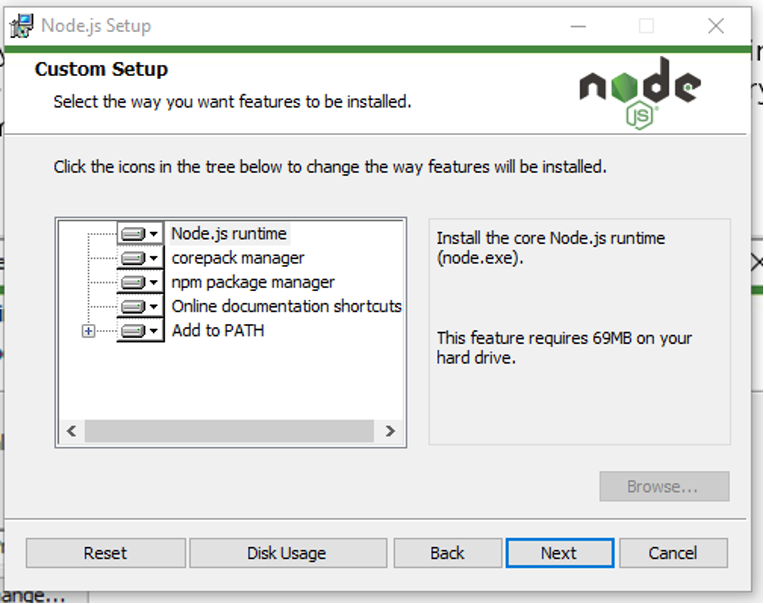
- Keep the default settings in the Custom Setup page then click “Next”.
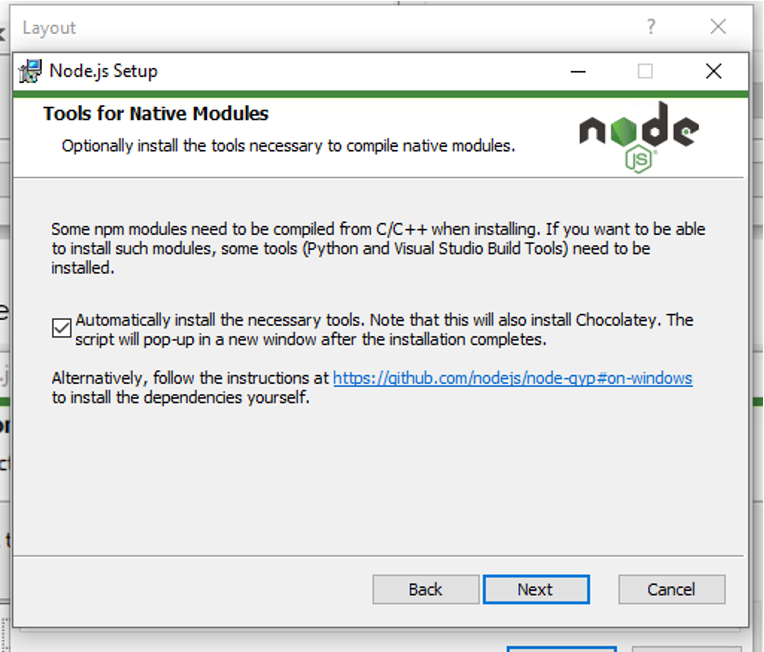
- Tick the tick box as shown in the screenshot below and click “Next”.
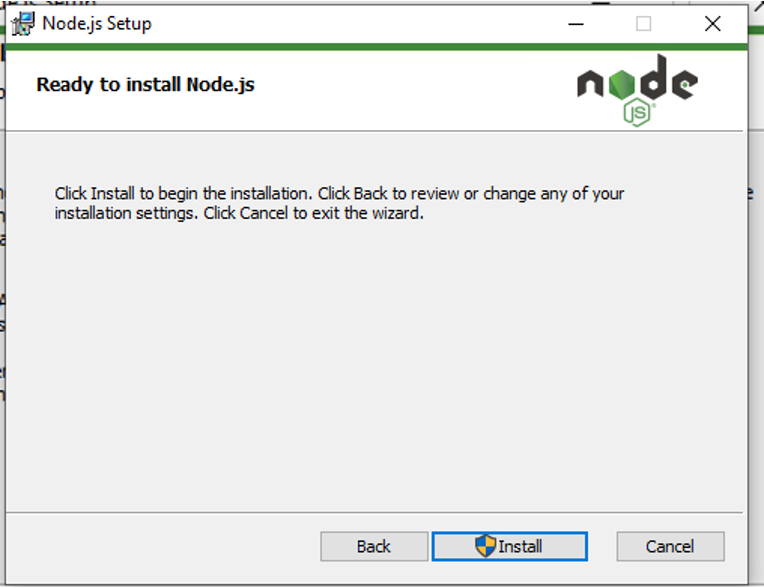
- Click “Install” to continue with the installation.
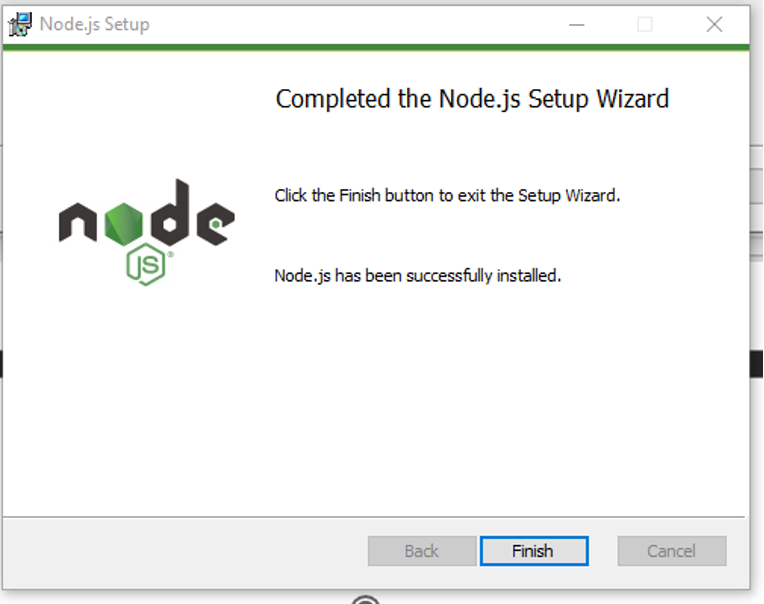
- Once the installation is done, Click “Finish”
- “Install Additional Tools for Node.js” window will show. Just press any key to proceed.

- The Windows PowerShell will pop-up on the screen to show installation status of additional tools. Type “ENTER” once completed to exit the window.

- Verify installation of Node.js and NPM by typing the commands below in the Command Prompt. Command Prompt will show the version of your Node.js and NPM
node -v
npm -v

- You can also verify the installation from Windows PowerShell by typing the same command.
node -v
npm -v

- Test your Node.js by opening it and typing any command related to node.js


