How to Configure the Firewall on Windows Server 2019
April 5, 2024
By
maribh
Configuring the firewall on Windows Server 2019 requires numerous steps to guarantee that your server is protected while yet permitting necessary network traffic. Here’s a simple instruction to help you configure the firewall.
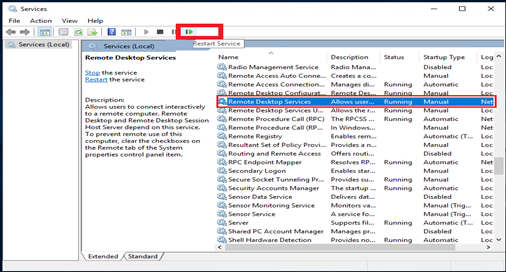
Before configuring firewall on Windows Server 2019 make sure to have remote desktop connection on the server.
Here are the steps on how to do this:
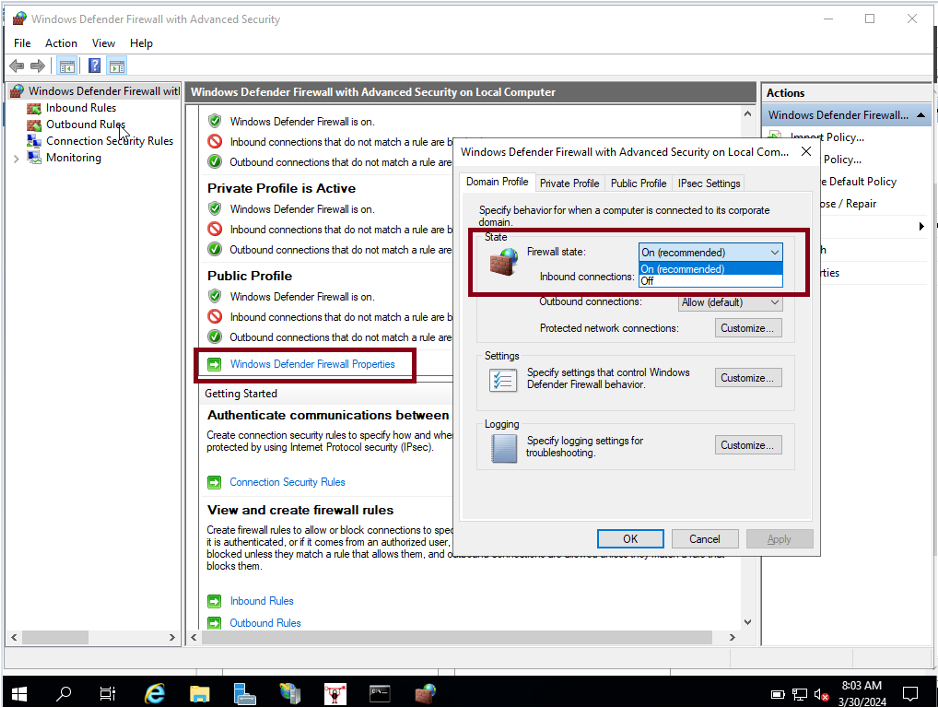
Windows Defender firewall is enabled by default on Windows 2019 Server; however, if it is disabled, turn it on by launching Server Manager and selecting Windows Defender Firewall with Advance Security.
Click on Windows Defender Firewall Properties; if it is ON and OFF, simply drop it down and select it to ON.
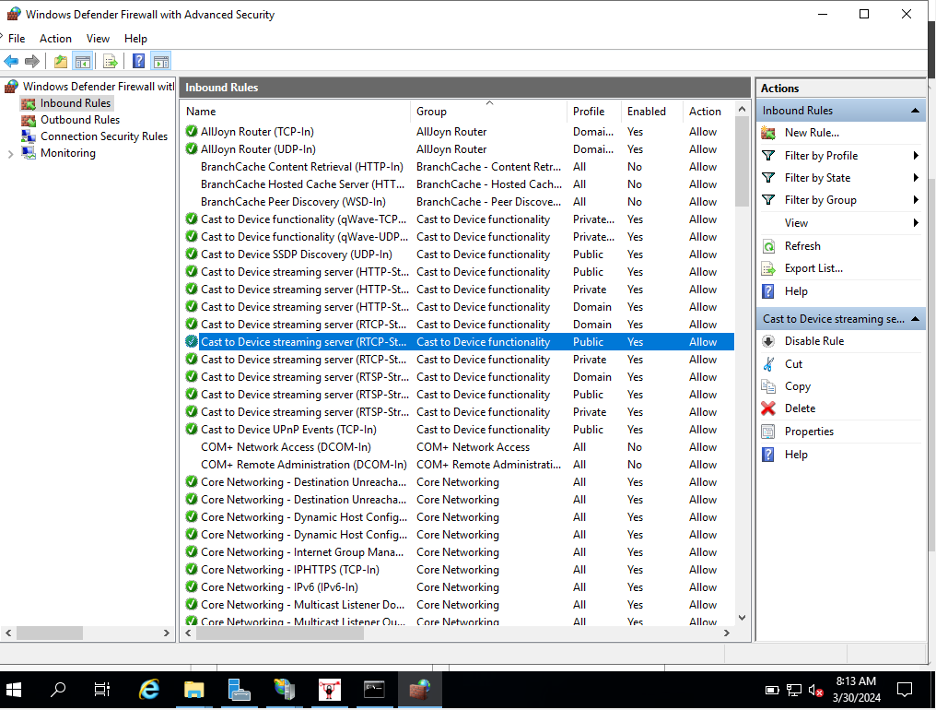
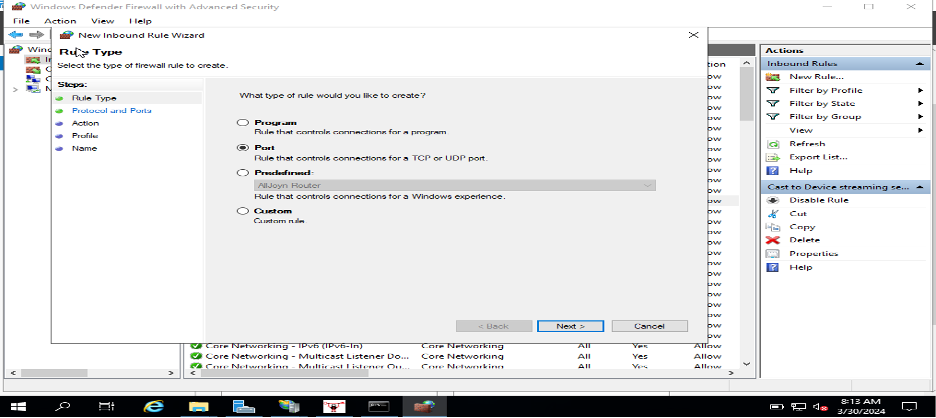
After ensuring that the firewall is activated, it is time to establish firewall rules. Firewall rules specify whether incoming or outgoing traffic can join to a network. First, create Inbound rules to enable incoming connections. Launch Windows Defender Firewall with Advanced Security, then click Inbound Rules on the left side, followed by New Rule on the right, as shown below.
Click Port and then Next.
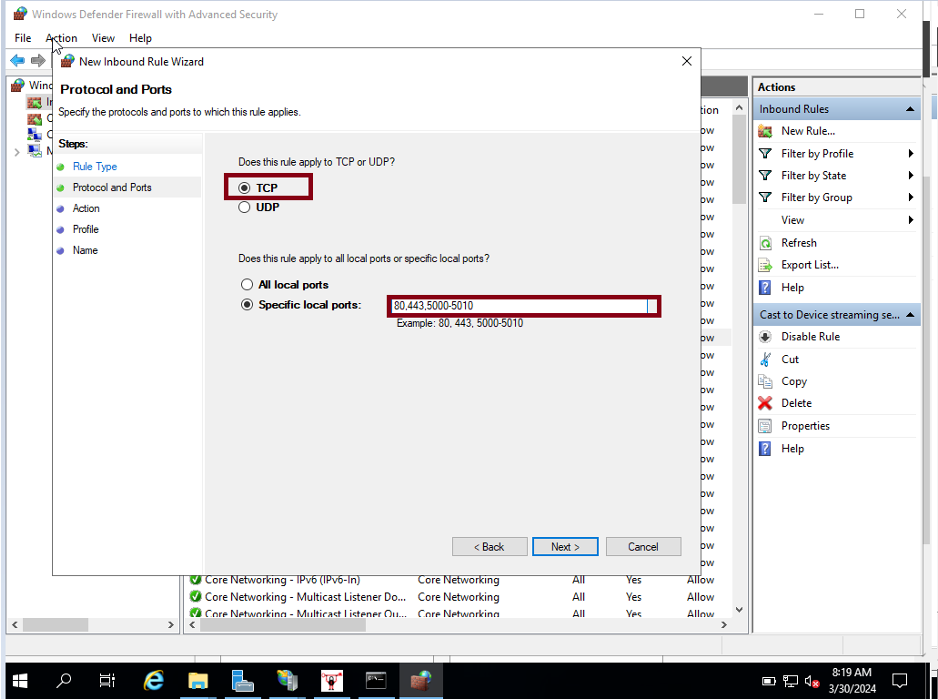
Select whether the rules apply to your server’s TCP or UDP ports. Select the specific ports and enter your target port number; several ports can be entered; simply separate them with – and, then click Next.
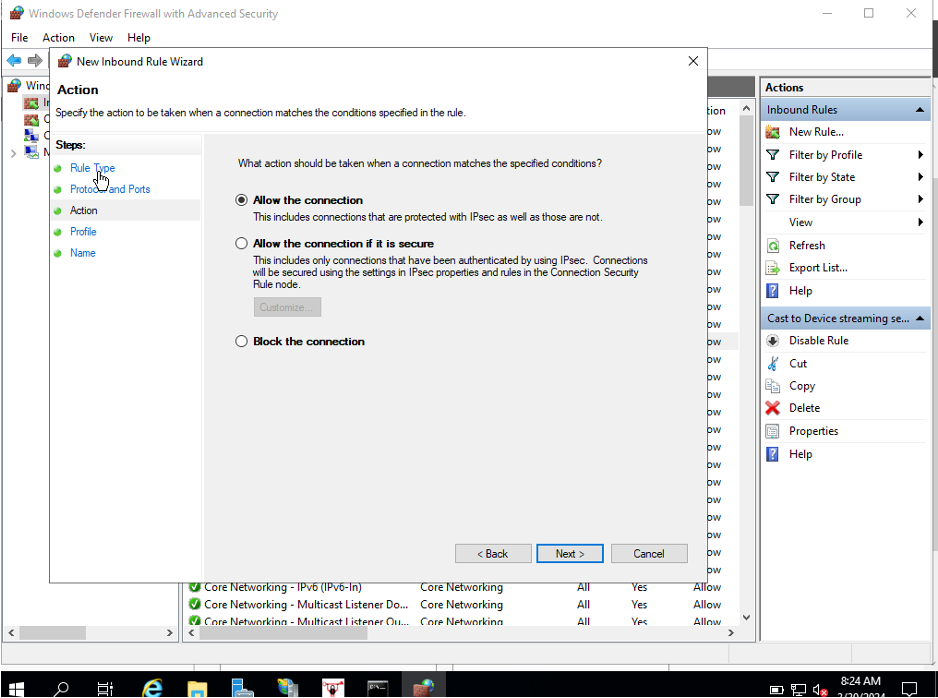
Next page will prompt you to choose 3 options.
Allow Connection – the port will allow incoming connection
Allow the Connection if it is secured- Only allow secure connections (e.g. https), otherwise ban them (e.g. http).
Block the Connection- block all incoming connections on specified port.
Click Next once done.
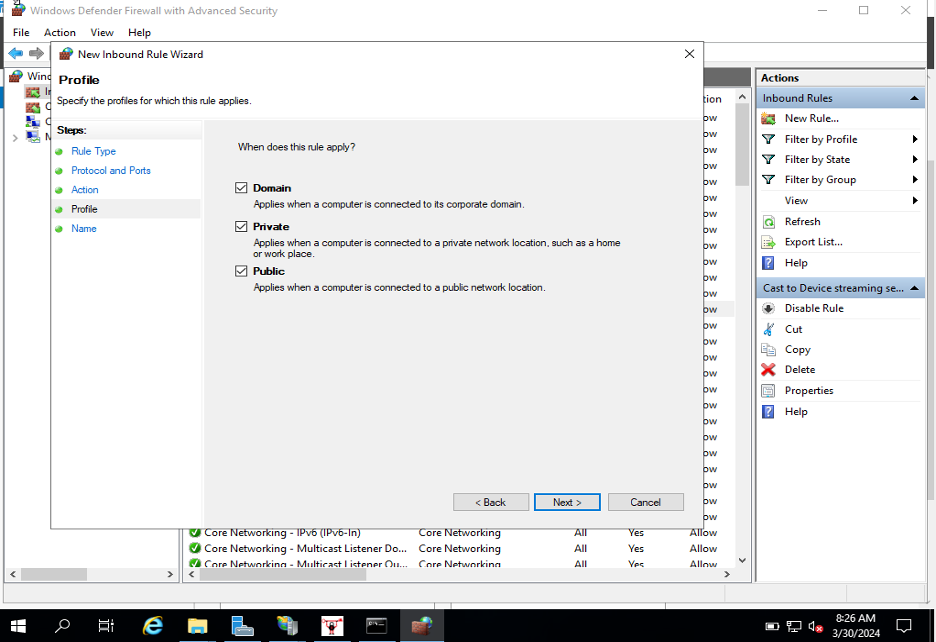
Select on the 3 options below when does the rule apply. All options can be selected.
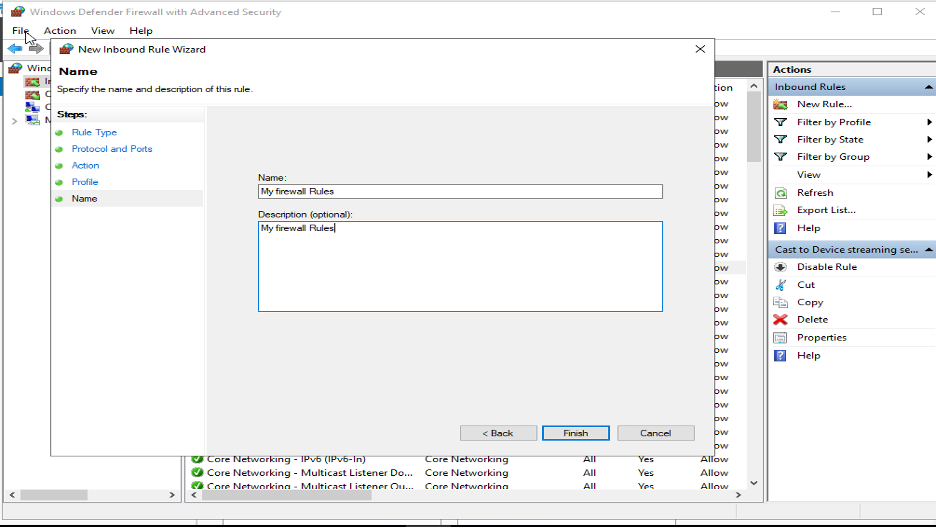
Finally, name your rules for your reference then Click Finish.
The rule is now visible on the Inbound Rules.
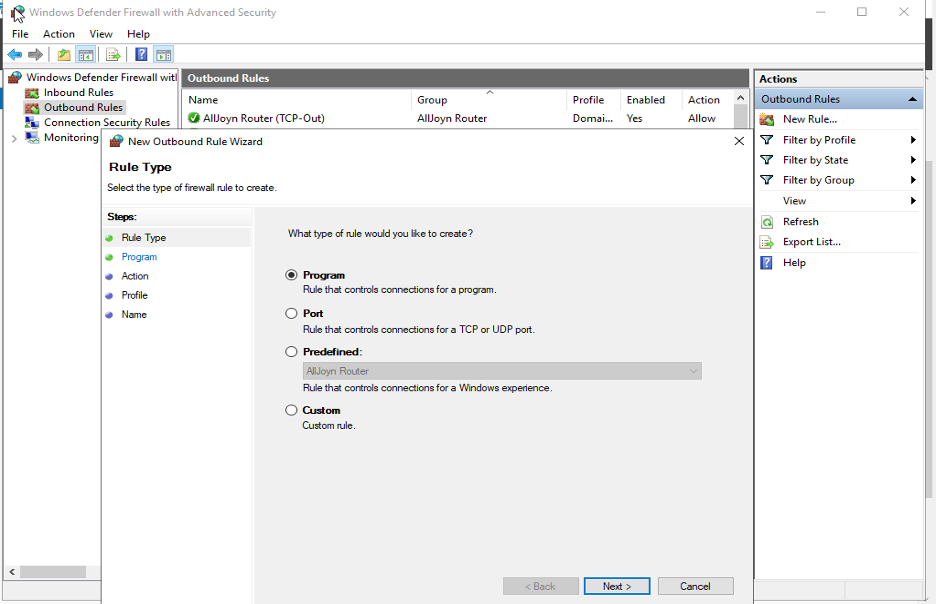
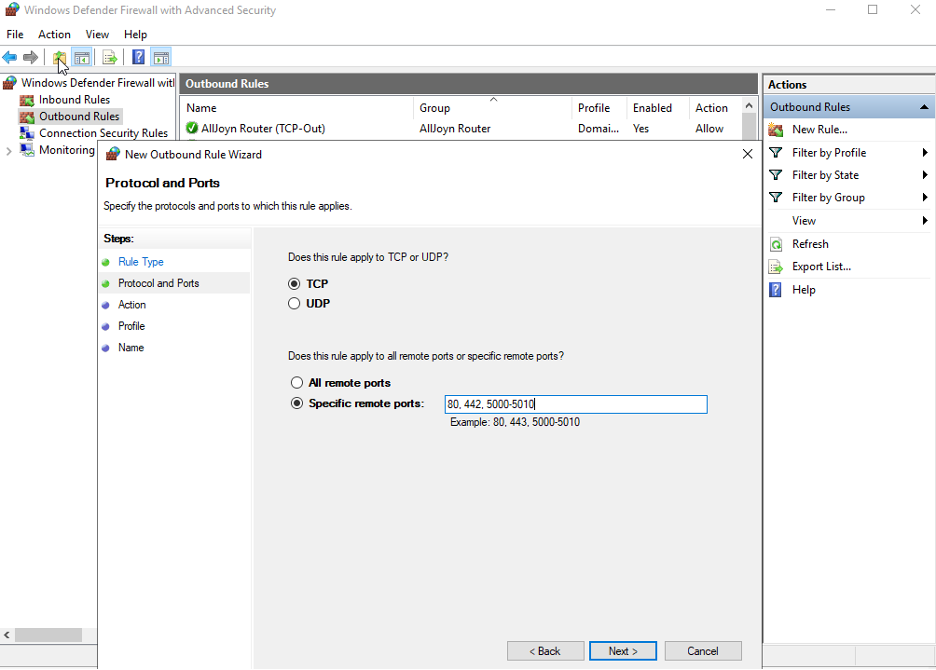
Since Inbound Rule has been configured, outbound Rules can also be applied. Click on Outbound Rules at the left side and New Rule at the right side then Select Port you want to configured then click Next.
Select whether the rules apply to your server’s TCP or UDP ports. Select the specific ports and enter your target port number; several ports can be entered; simply separate them with – and, then click Next.
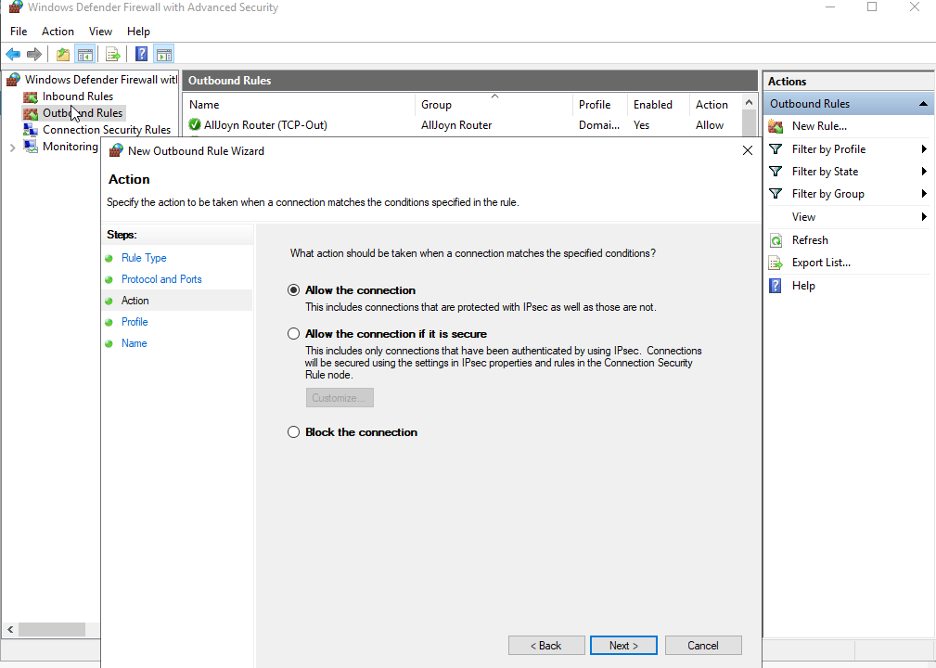
Next page will prompt you to choose 3 options.
Allow Connection – the port will allow incoming connection
Allow the Connection if it is secured- Only allow secure connections (e.g. https), otherwise ban them (e.g. http).
Block the Connection- block all incoming connections on specified port.
Click Next once done.
Select on the 3 options below when does the rule apply. All options can be selected.
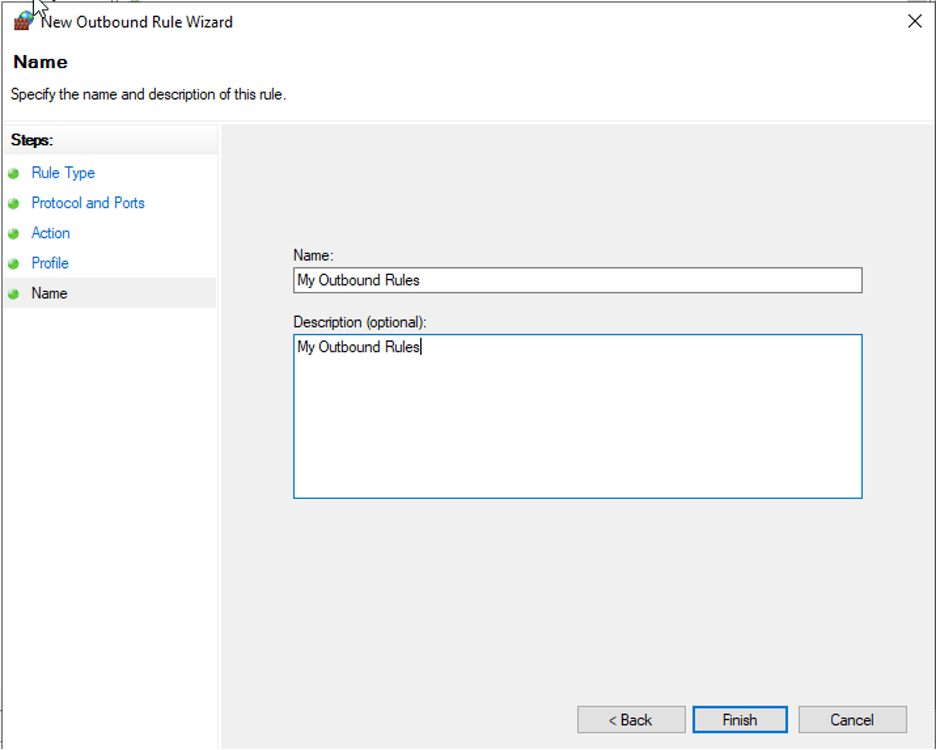
Finally, name your rules for your reference then Click Finish.