Wind Layer Blog

How to Install a Let’s Encrypt SSL/TLS Certificate on Windows Server 2019

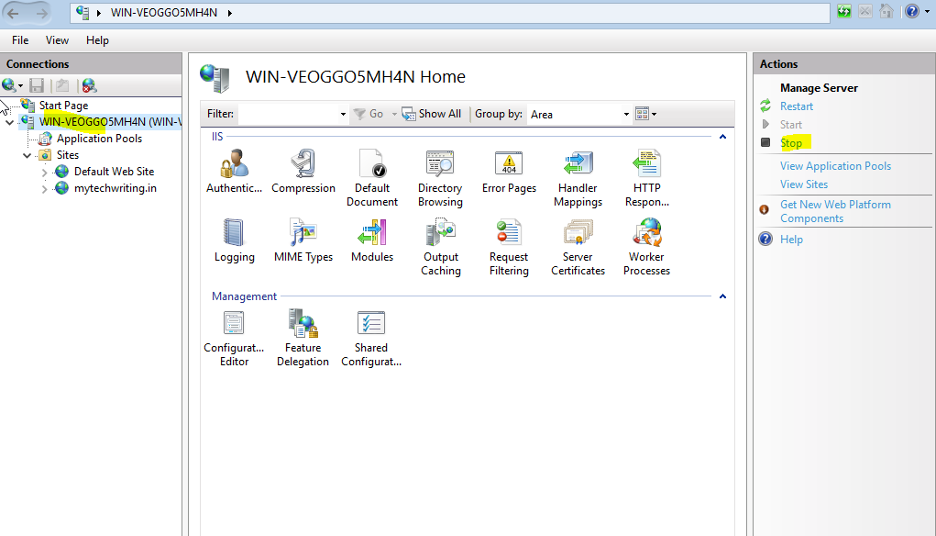
Preparation for Installation:

  • Windows Server 2019
  • IIS installed
  • Web application with Domain A Record


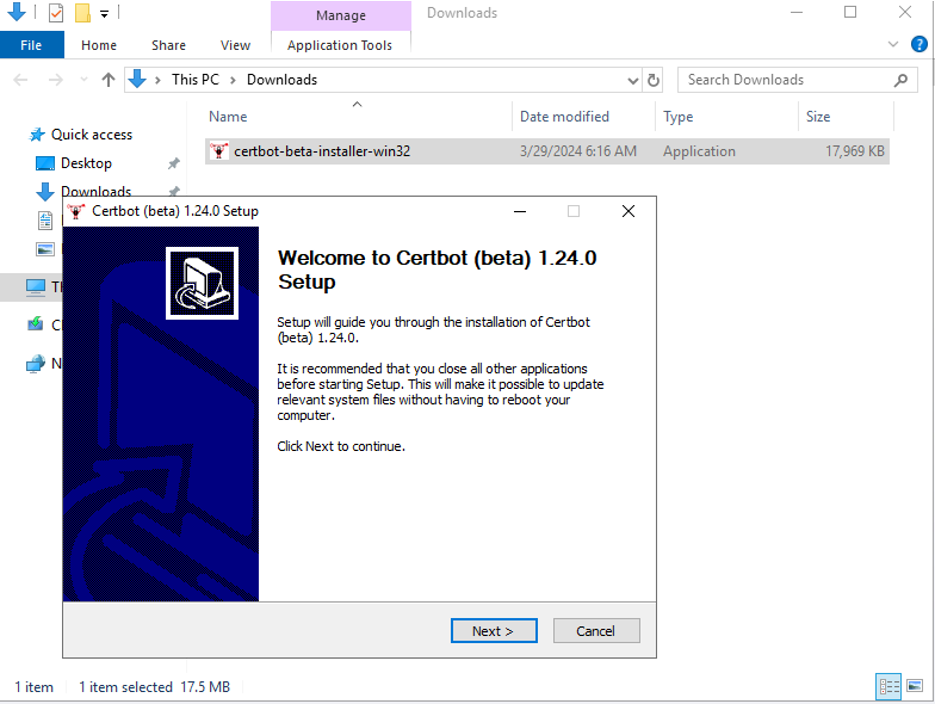
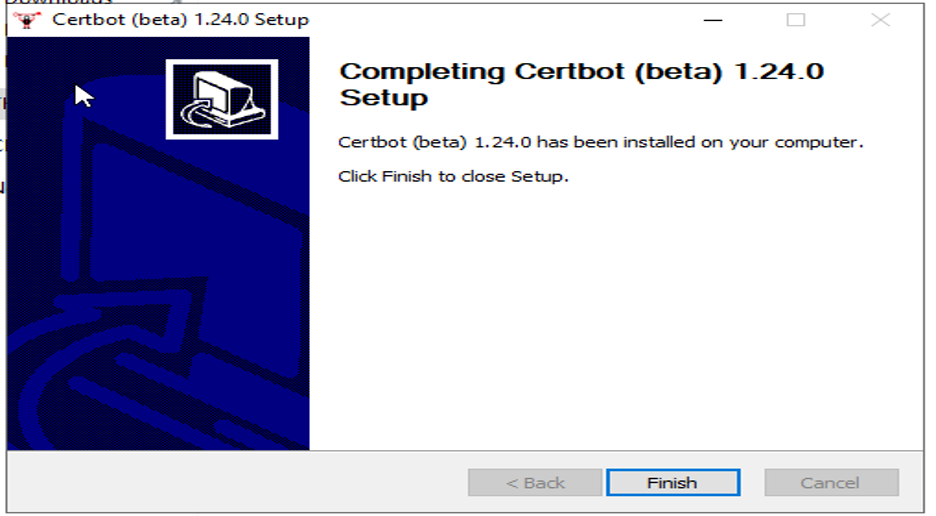
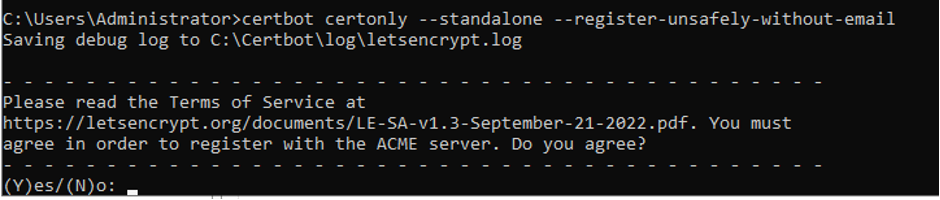
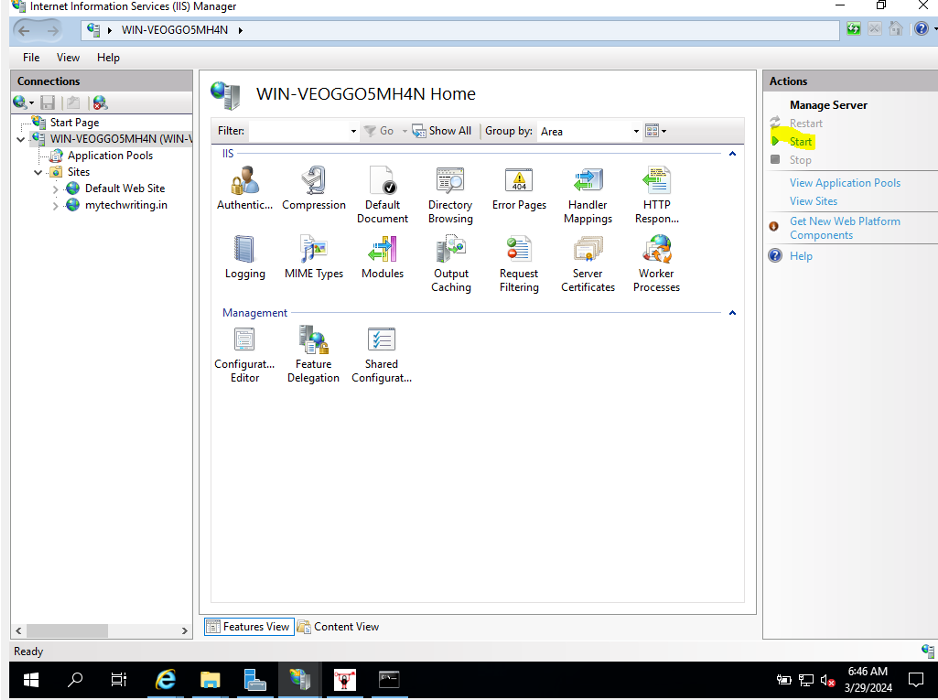
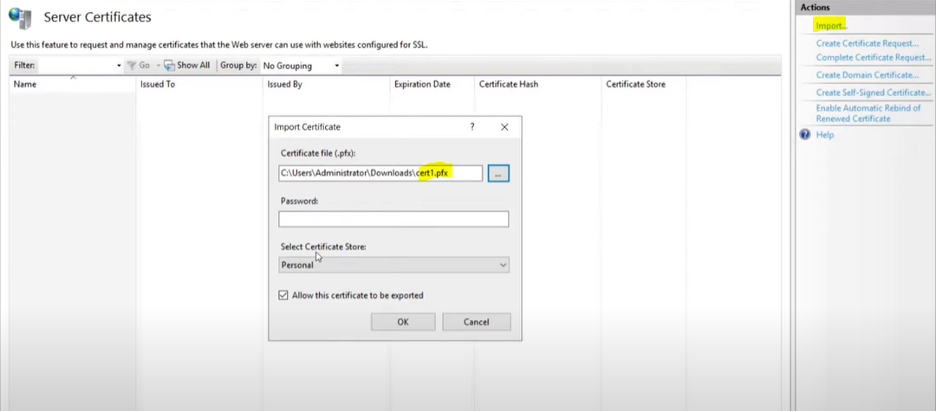
Once all requirements are met, proceed with the installation

  1. Launch Server Manager and Click IIS.
  1. Get the public IP address (highlighted) of your server and check if it is working. IIS welcome web page should display as below.
  1. Proceed to install and configure Certificate once you identified the website.
  1. Get the installer from official website https://dl.eff.org/certbot-beta-installer-win32.exe.
  2. Double click the installer and follow the installation wizard.
  1. Wait for the installation to complete and click finish.
  1. Stop the IIS service. Click your server’s name on Left side and then stop on the right side of the page.
  1. Open the command prompt (cmd) and run below command.
				
					certbot certonly –standalone –register-unsafely-without-email
				
			
Accept the installation by typing Yes or Y.
  1. Give your domain name on next step and hit enter.
  1. Once successful, files can be seen on the folder like below:
  1. Convert the .pem files shown above to cert.pfx. The link https://www.sslshopper.com/ssl-converter.html is online converter to help convert the files.
  1. Start the IIS again.
  1. Click the Server Certificates and from Action tab click import. Look for the converted file .pfx and click OK.
  1. The certificate is now invoked into the website. You can check it on IIS the details.
  1. Modify the website now to use https. From IIS click the websites then edit binding and click add and leave other as it is then click OK.
  1. You should see 2 entries on your website port 80 and port 443 for http and https respectively.
  1. Verify the website on your web browser. https should work. This complete issuing and adding SSL Certificate from IIS.
Share the Post:

Related Posts