You can maximize the performance of your Windows server with PHP management. Learn how to install PHP Manager on Windows with IIS in a few simple steps. Enhance your server’s capabilities and administer PHP with simplicity. Explore our step-by-step tutorial today!
Here’s a guide to walk you through the process:
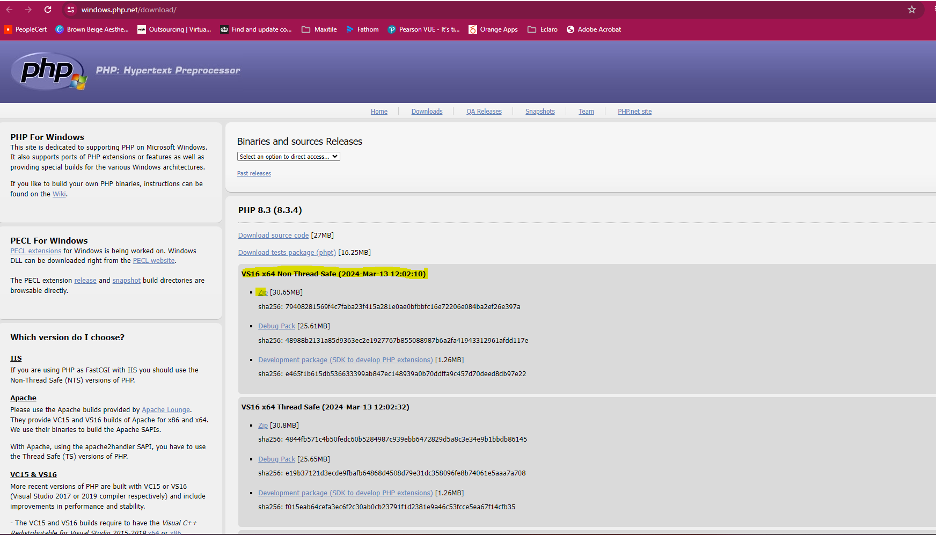
Download the PHP from the official website https://www.php.net/downloads.php. Download the Non-Thread Safe (NTS) VS16 x64 PHP for Windows .zip
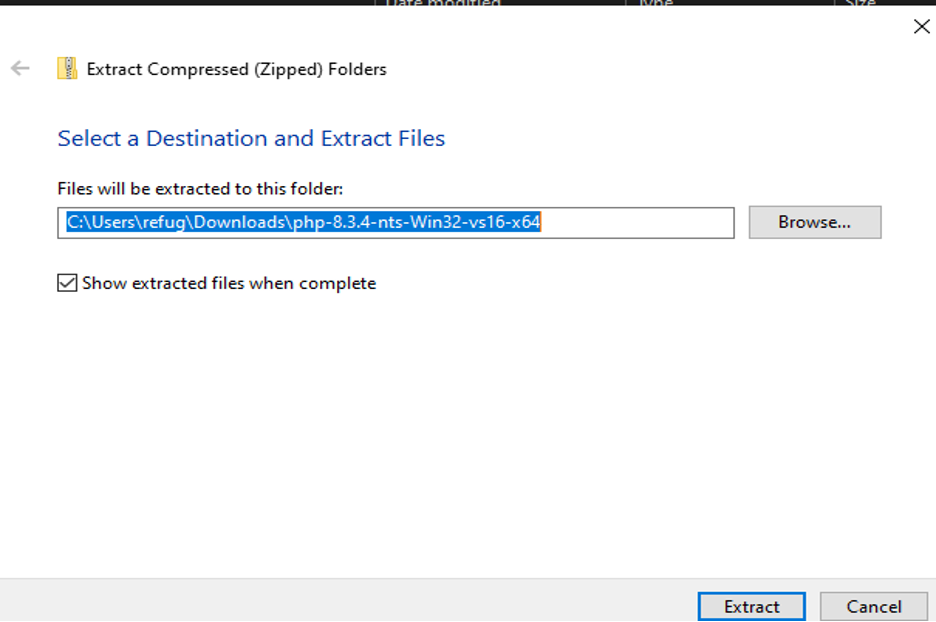
Extract the downloaded PHP for Windows .zip file
Rename the extracted folder PHP
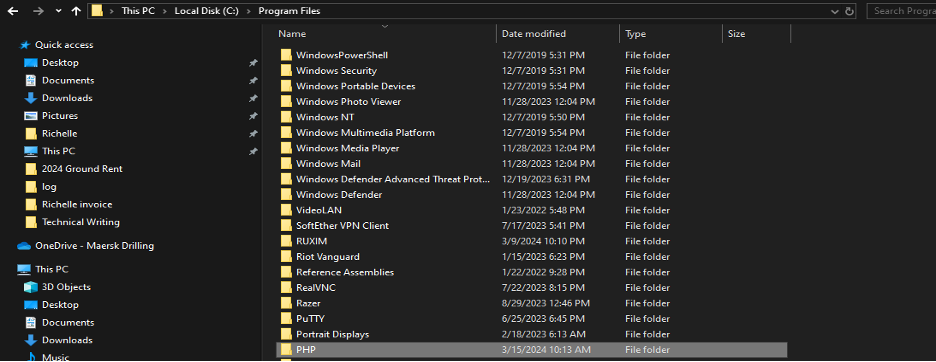
Cut the PHP folder to a safe location to run from, such as C:\Program Files
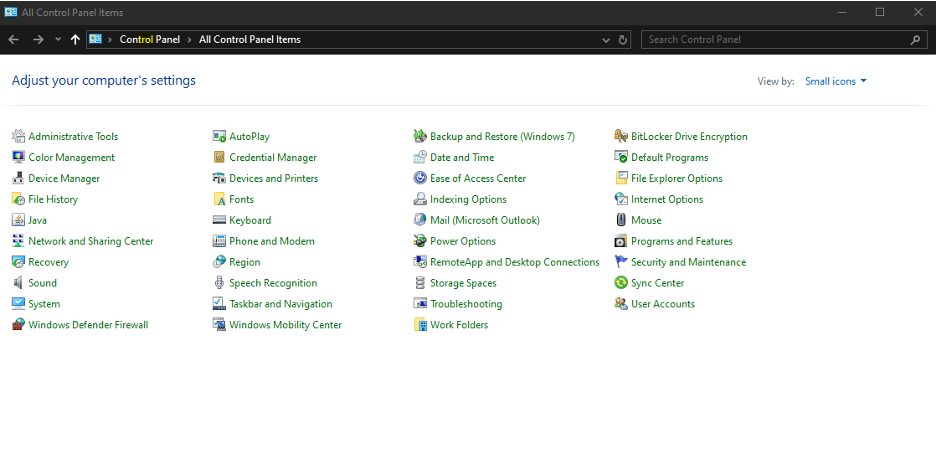
Click the Start button ≫ Search Control ≫ Click Control Panel
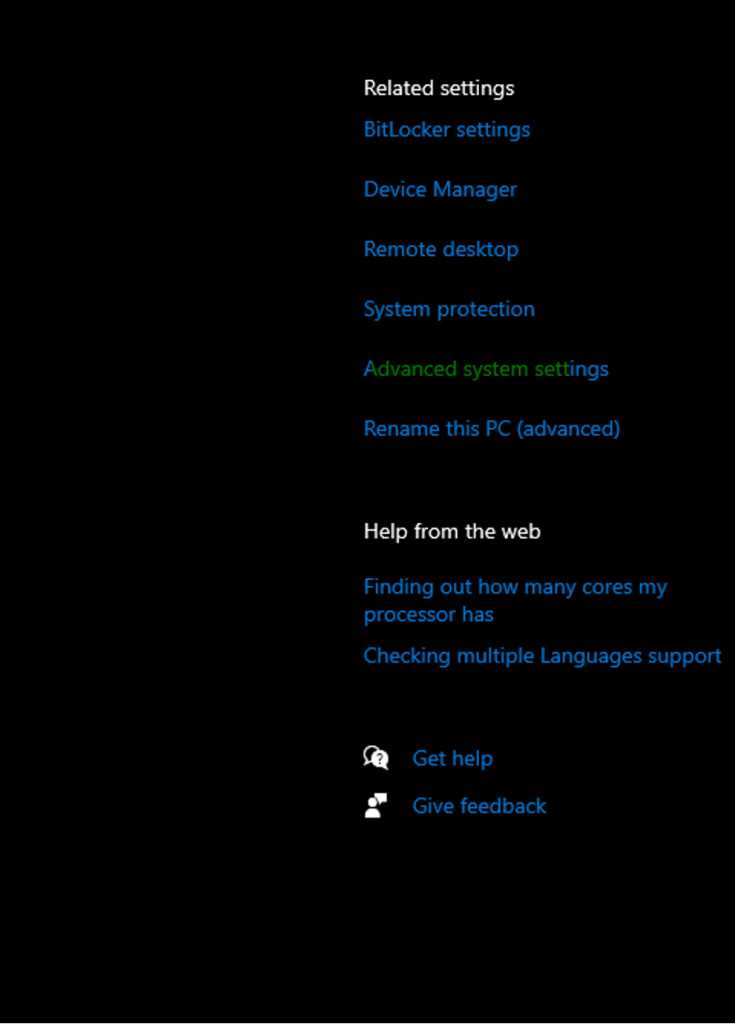
Click on System ≫ Advanced system settings
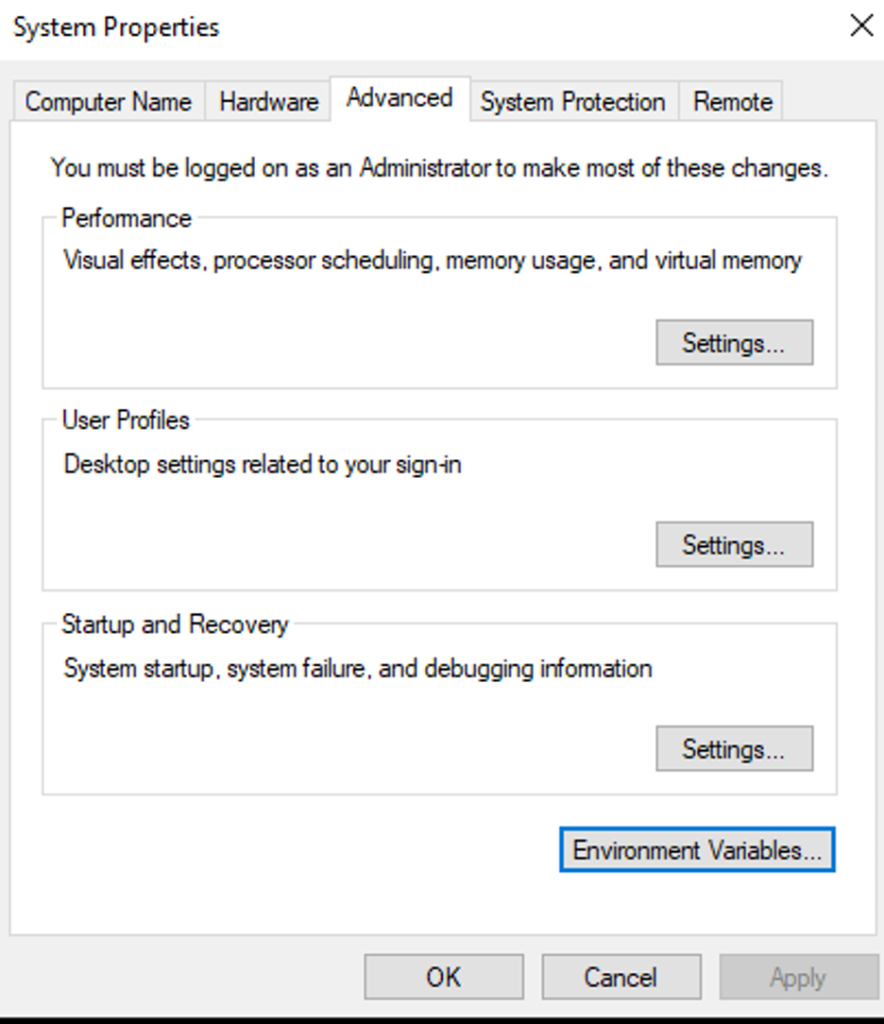
Click the Environment Variables
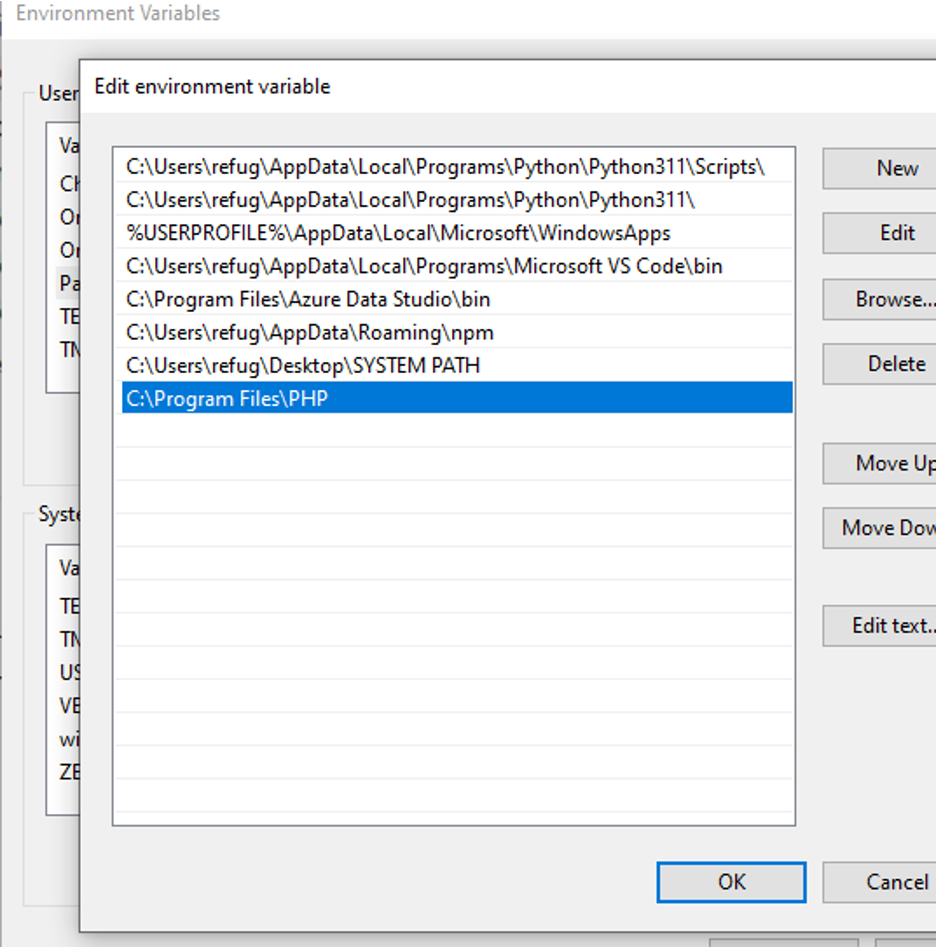
Edit the System Path variable, Click the New button and add the PHP installation directory, Click OK to all open dialog windows.
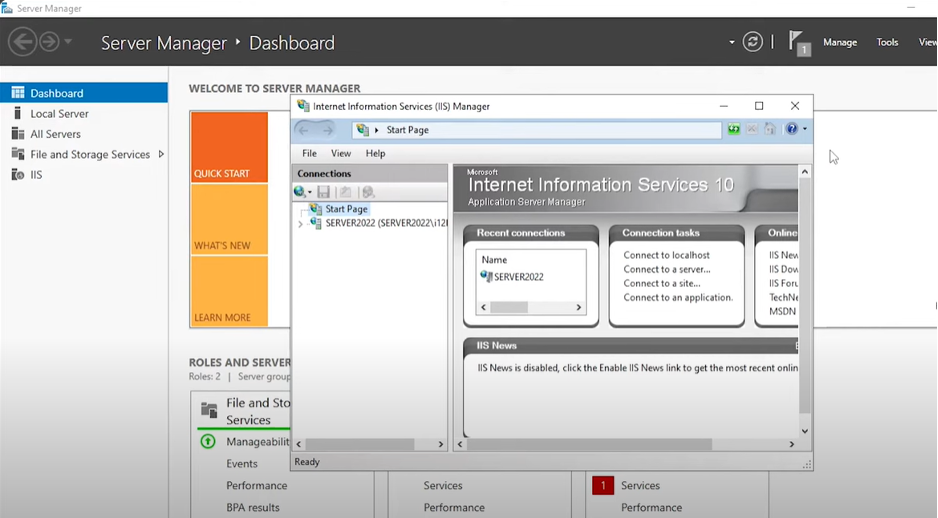
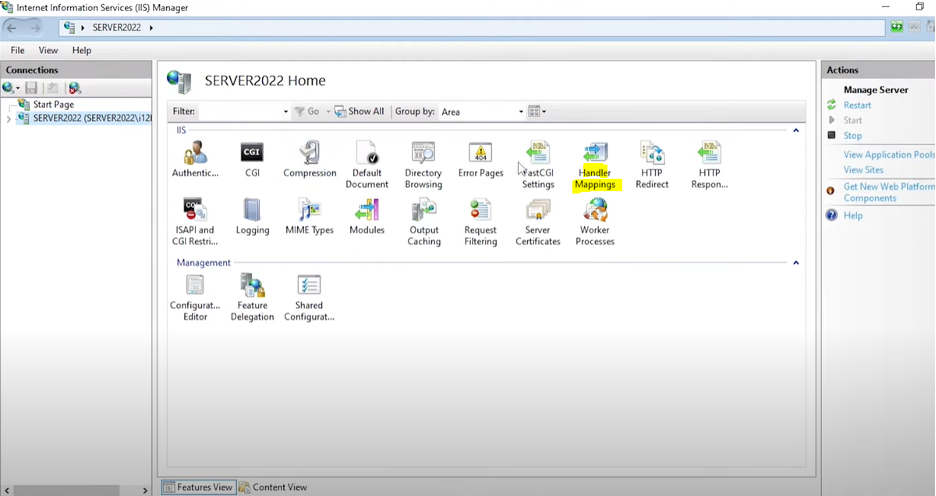
Open Server Manager and Click IIS.
Click the server name on Left side of navigation panel, and double click Handler Mappings.
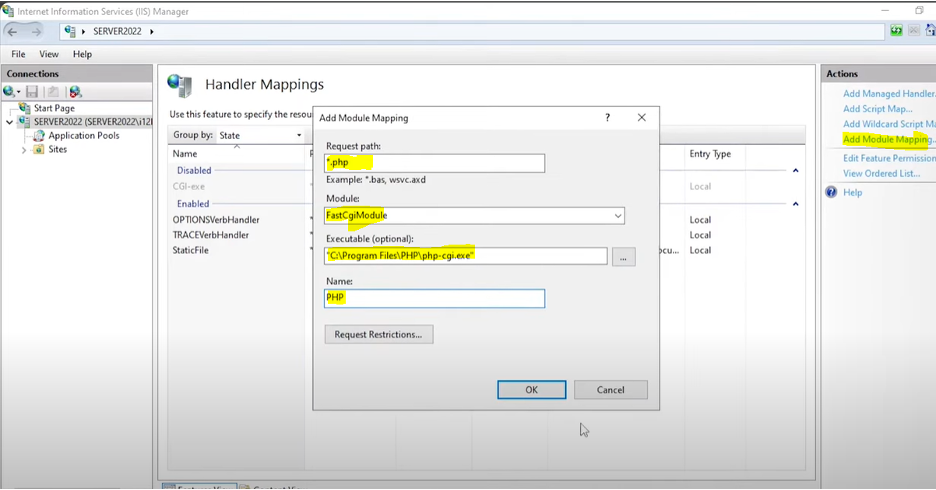
Click Add Module Mapping on top right and input details as follow and Click OK.
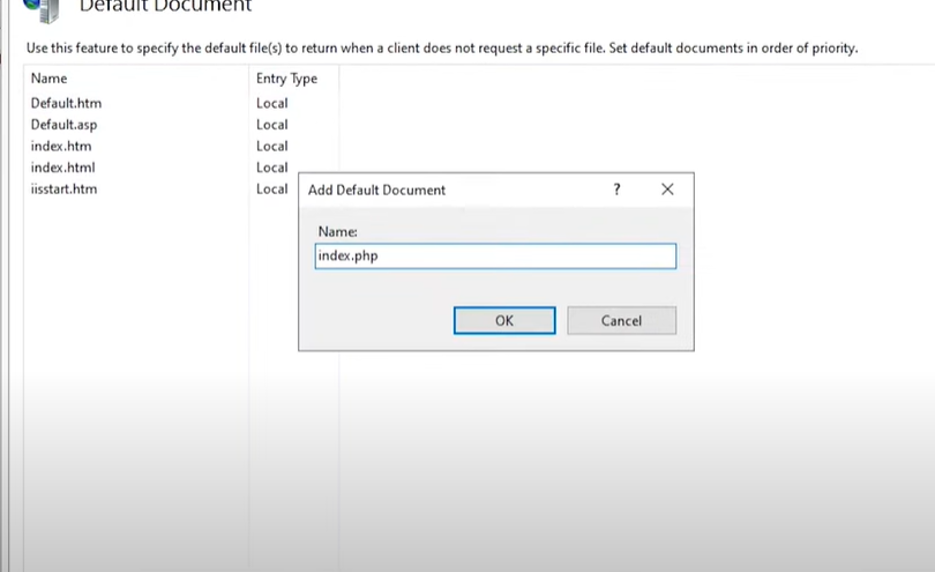
Navigate to Left Side, click Server Name and double click Default Document.
Click the Add action on the right side and Add index.php and click OK.
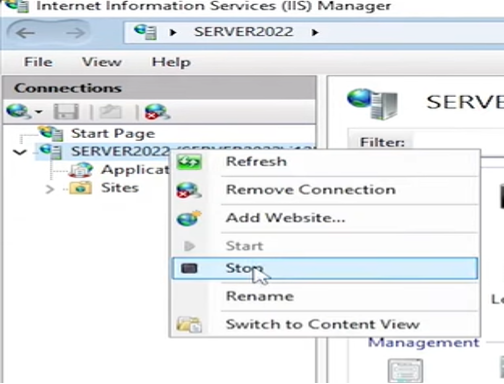
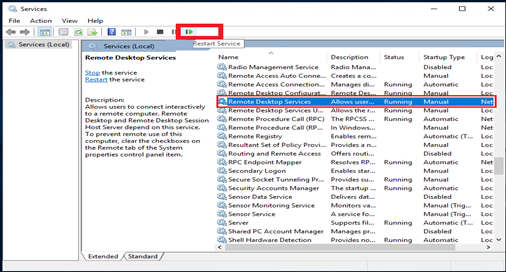
Stop and start the server for changes to take effect. Right click the server name on left side then stop/start.
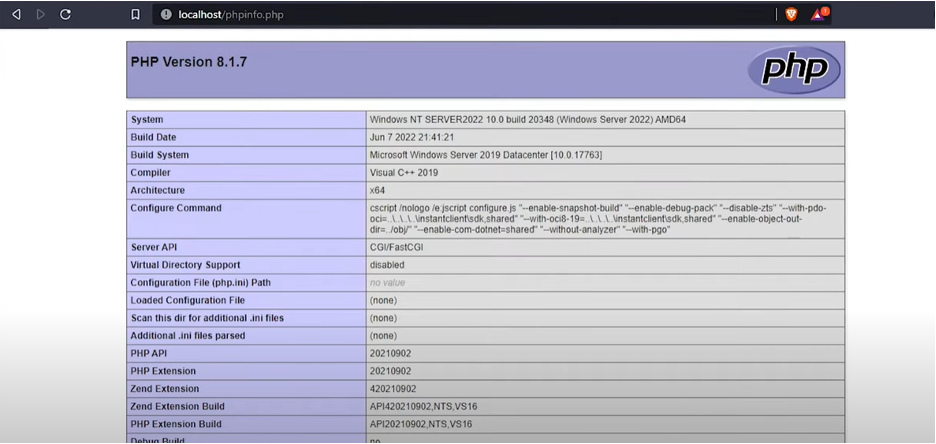
Finally, test the installation. Open the web browser and navigate on DNS or IP of the host. You have now a working PHP. Details of your PHP should be shown like below.