How to Set Up a VPN on Windows Server 2019 using Remote Access
March 15, 2024
By
maribh
Learn how to use Remote Access to configure a Virtual Private Network (VPN) on Windows Server 2019. Follow our step-by-step guide to create VPN connections easily, allowing you to access your network securely from anywhere.
Install Routing and Remote Access Service
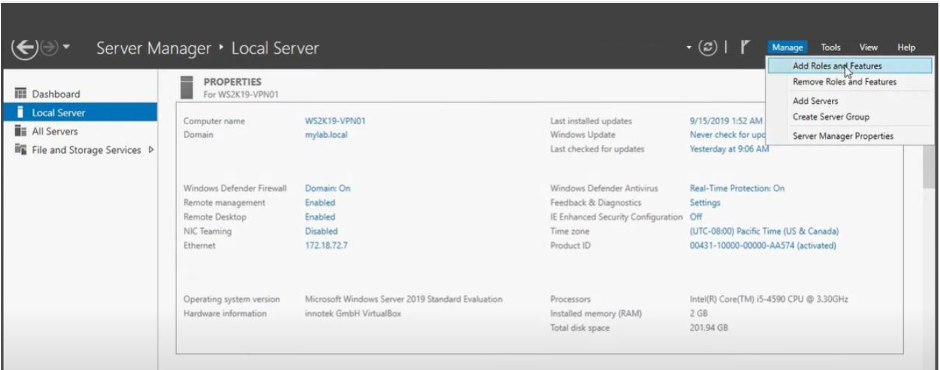
Open Serer Manager. Click on “Manage” and select “Add Roles and Features”.
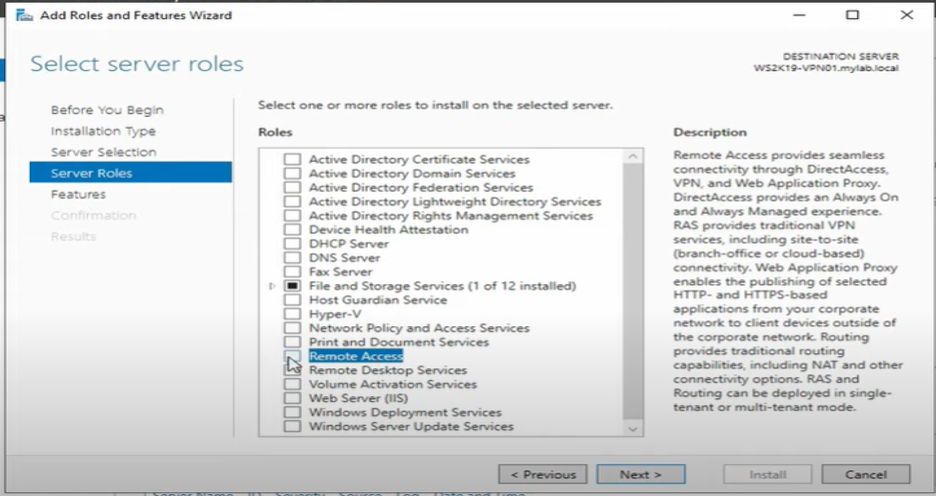
Follow the wizard, and when prompted to select roles, choose “Remote Access.”
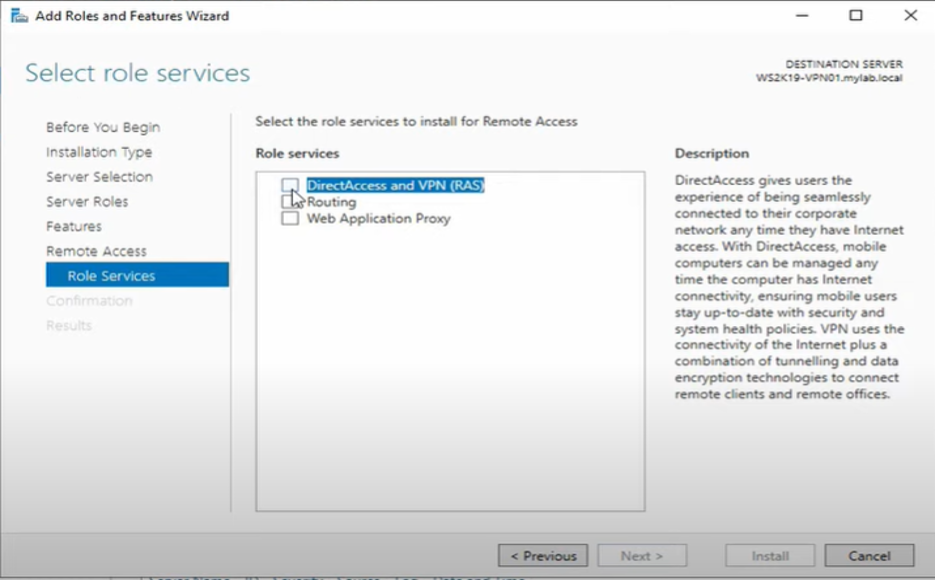
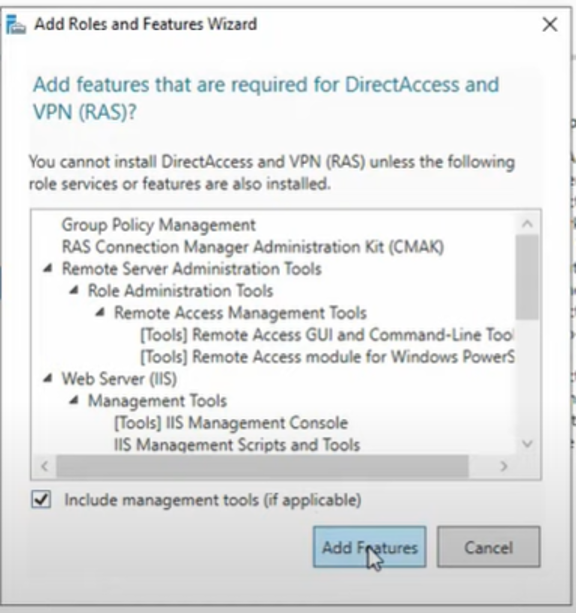
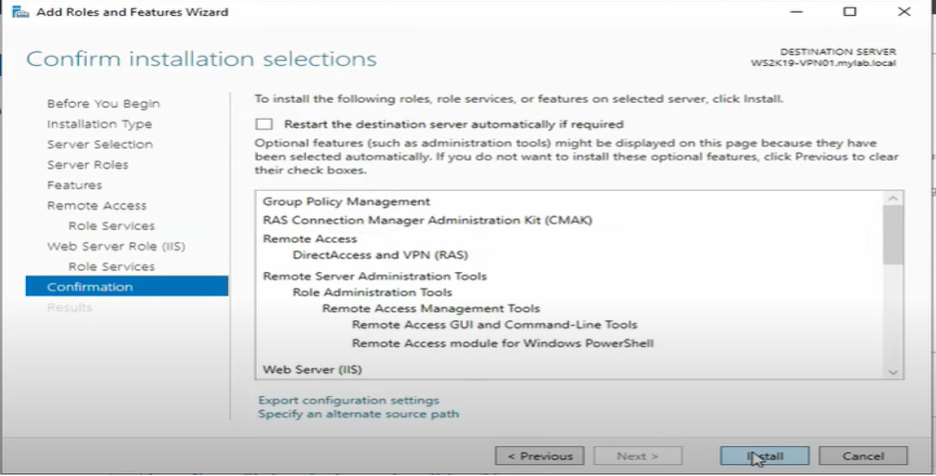
Click “Next” to continue the installation procedure until you reach the “Role Services” section. Select “DirectAccess and VPN (RAS)” and click the “Add Features” button to add required features.
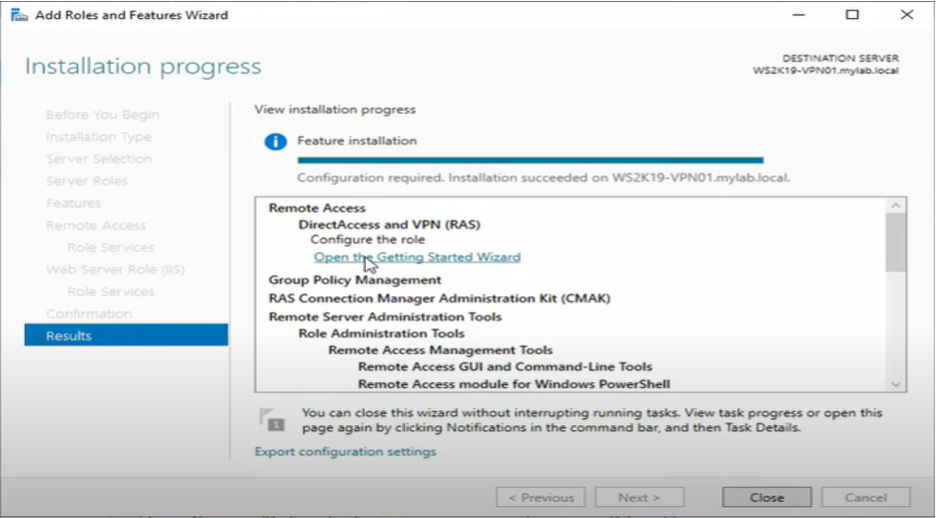
Continue with the installation and complete the wizard.
After the installation is complete, click the “Open the Getting Started Wizard” to configure the DirectAccess and VPN.
Choose the Select either both DirectAccess and VPN or VPN only
Configure Routing and Remote Access Service
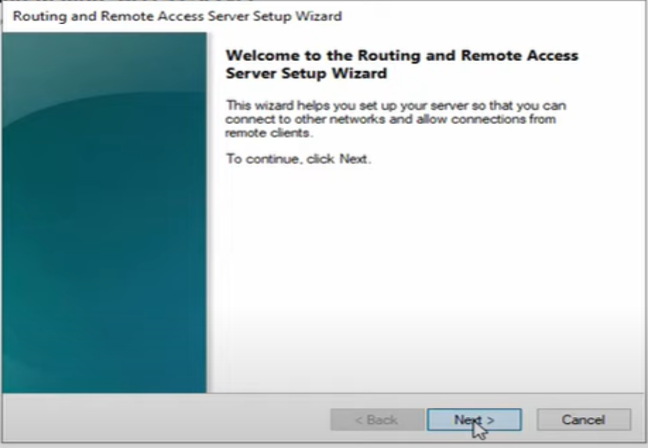
From the Routing and Remote access window, right click on the server’s name and select the “Configure and Enable Routing and Remote Access” and click “Next” when you see the set-up wizard.
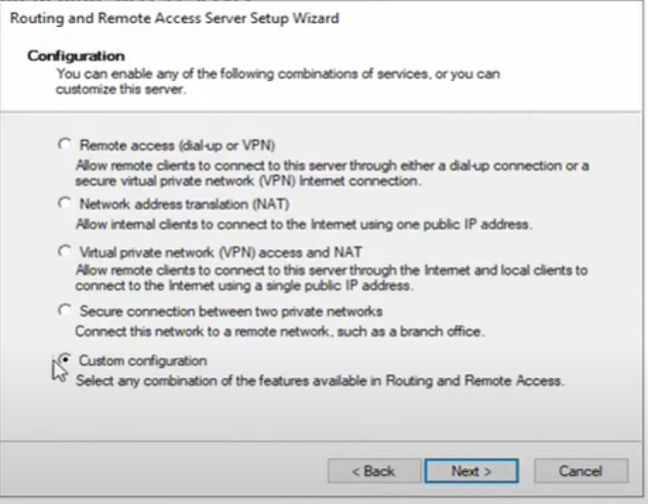
Select “Custom configuration” and click “Next”
Select “VPN Access” and click “Next” until you complete the wizard.
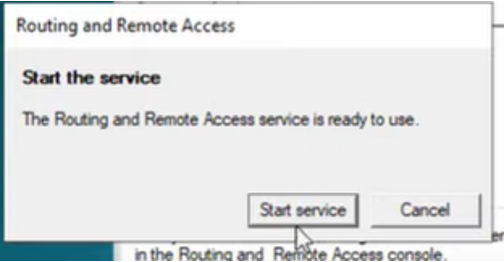
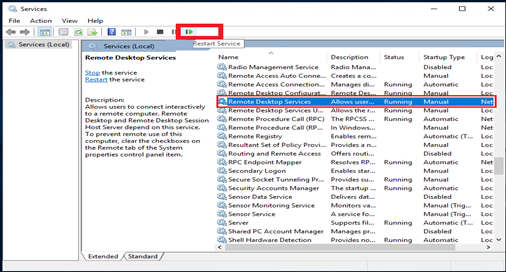
Click “Start Service” to start the routing and remote access service
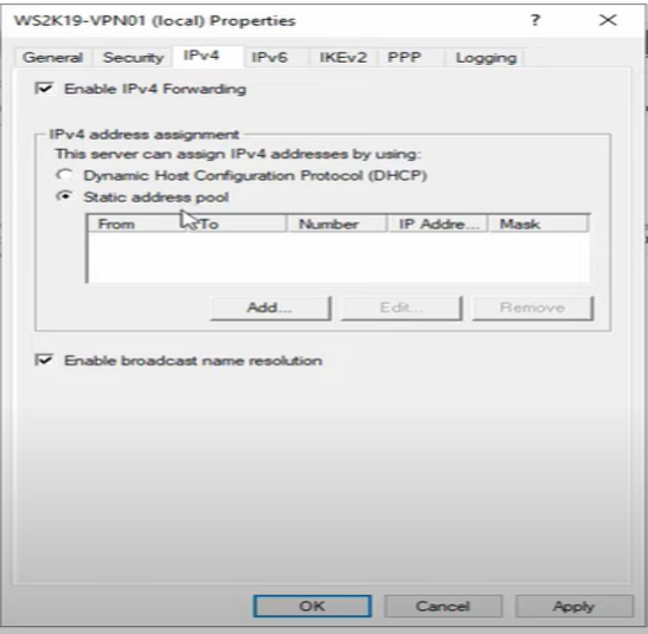
Right click again on the server’s name and select “Properties”. Click the IPv4 button. Specify the IP range in the Static address pool. Whoever wants to connect to your Network through VPN, they will get the IP from this pool.
Configure User Access in Active Directory
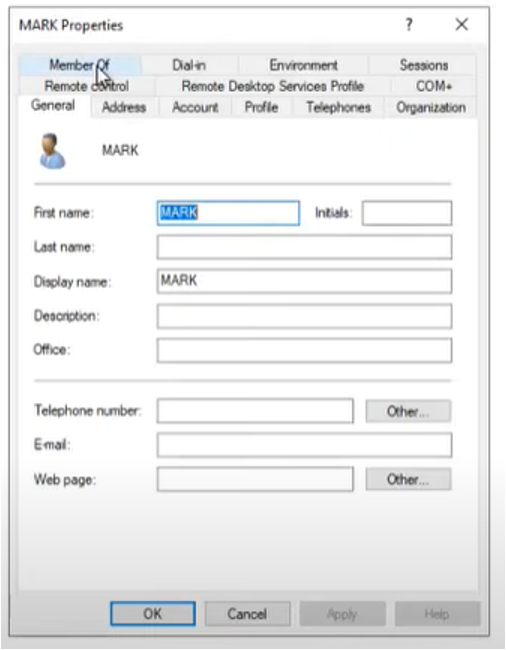
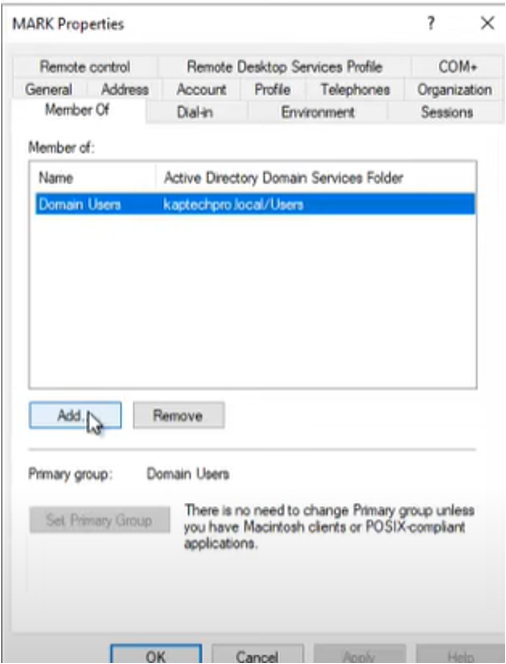
Open Active Directory Users and Computers and determine which users will be allowed to connect via VPN. Right click on the user whom you want to give VPN access to, select “Properties”, then click “Member of”
Give the user permission to access VPN. Click “Add”
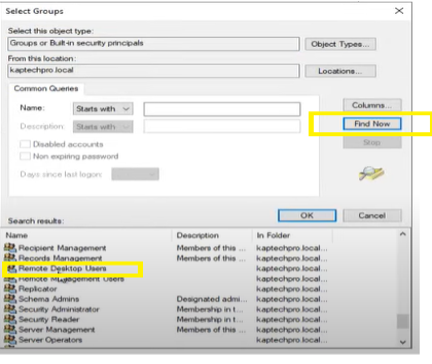
Click “Advanced” button
Click on “Find Now” and select the “Remote Desktop User”
Test the VPN functionality on a Client.
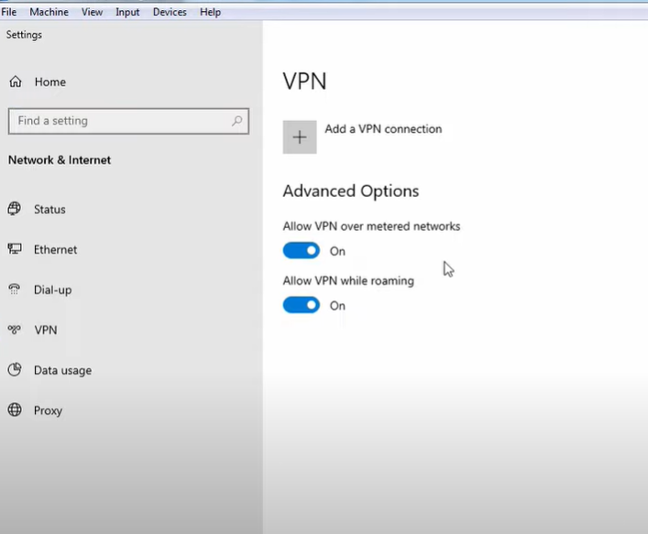
Set up VPN connection. From Start menu, go to “Network Connections”
Click “VPN” then “Add a VPN Connection”
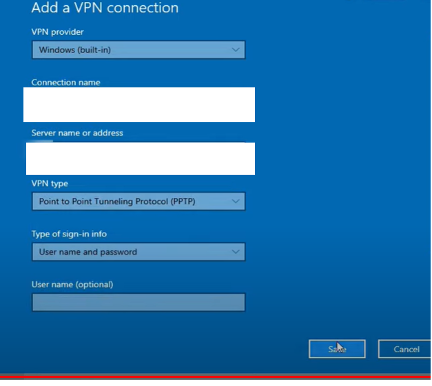
In the VPN Provider, select “Windows (built-in)”, enter the Connection name of your choice. In the Server name or address, specify the public IP address of your VPN server. In the VPN type, select PPTP.
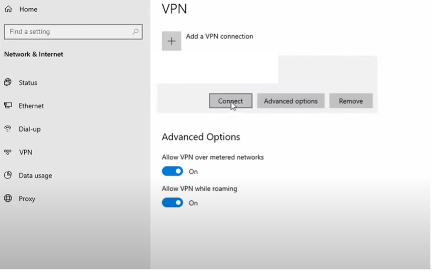
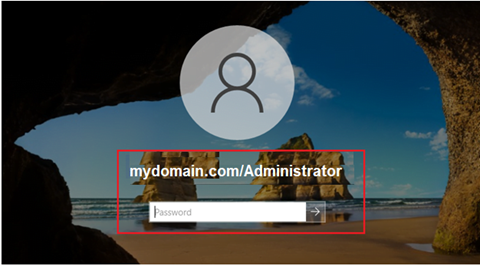
Connect to the VPN connection by clicking the “Connect” button. You will be asked to enter the username and password.
Ensure you can connect to and access the server’s network.