Install and Configure DFS Namespaces on Windows Server 2022
November 14, 2024
By
maria
A collection of shared folders housed on various servers can be organized into one or more logically structured namespaces using DFS (Distributed File System) Namespaces.
Preparation for Installation:
Domain Name
IP Address of the Computer
A Windows Server 2022 with user that have Administrator privilege
Installation
1. Navigate to the Server Manager dashboard and click Add roles and features.
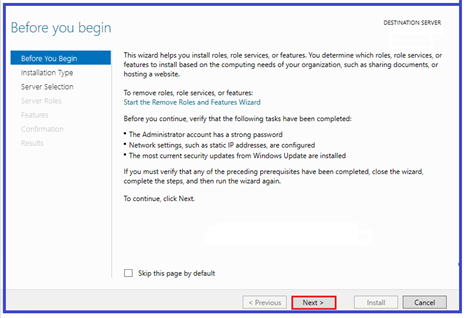
2. You will see the Before you begin page, Click Next to proceed.
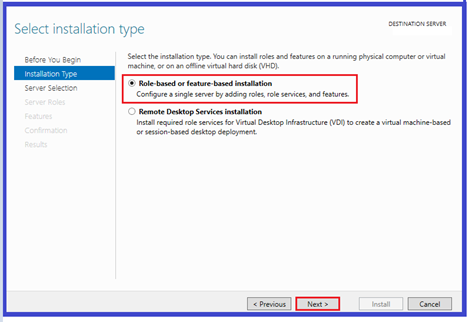
3. On Select Installation Type, Pick Role-based or feature-based installation and then click
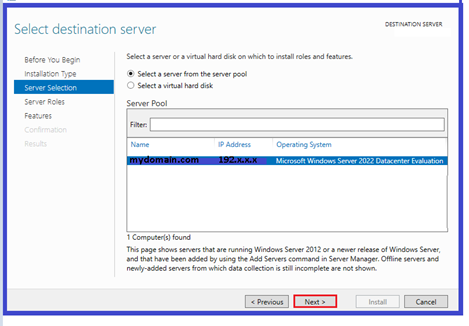
4. On the Select destination server, tick the Select a server from the server pool. The name and IP address of the computer will show on this page. Click Next to proceed.
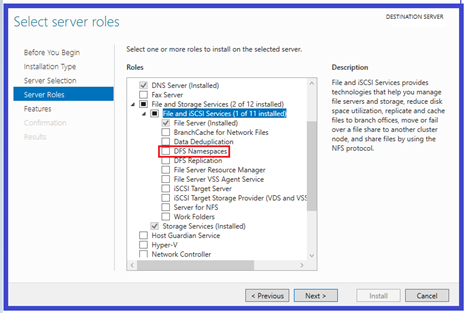
5. Check the DFS Namespaces on the Server Roles and click Next.
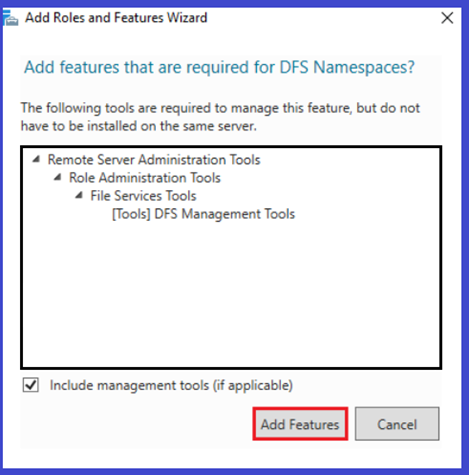
6. Once you select DFS Namespaces, a dialogue box will pop out. Click Add Features. Click Next to proceed.
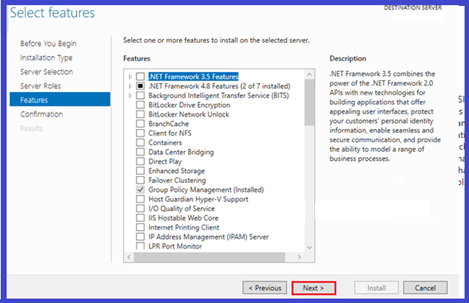
7. Select the default on the Next page. You can still add additional features base on your requirements after the installation
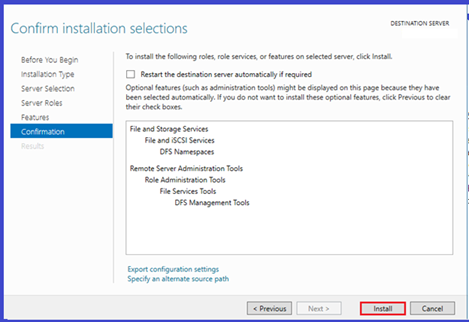
8. Verify that all entry is correct, if everything is confirmed proceed with the installation by clicking Install.
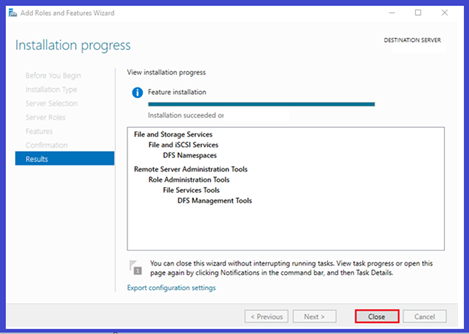
9. Installation is ongoing. Wait for it to complete and then click Close.
Configuration
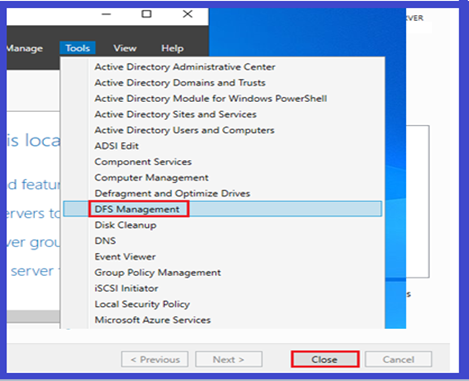
1. Launch the Server Manager dashboard, on the Tools Tab, select DFS Management.
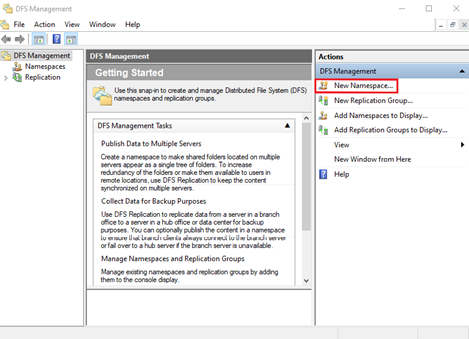
2. On the next page, click New Namespace.
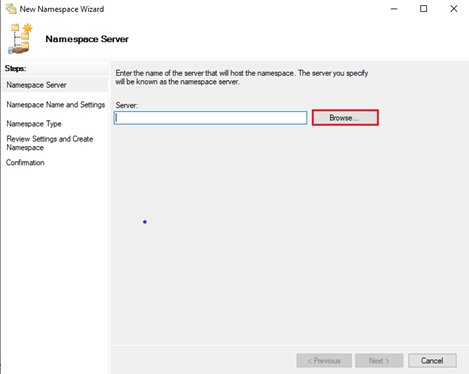
3. On this page, start in configuring the Namespace, click Browse.
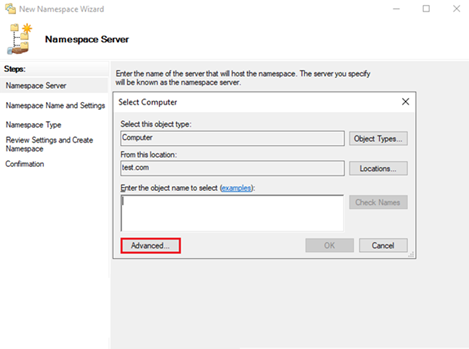
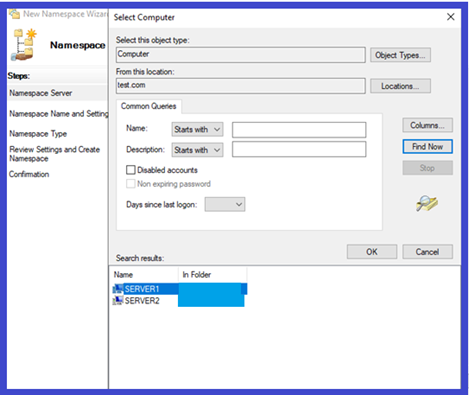
4. Click Advanced.
5. Select the server and Click Find Now and then click OK.
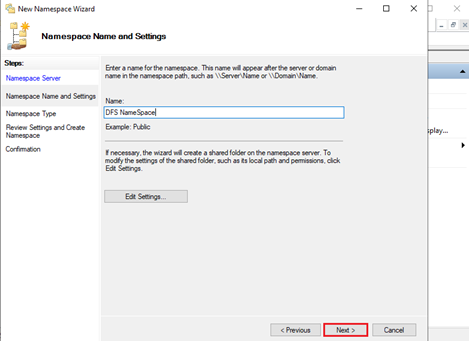
6. Enter the DFS Namespace name and click Next.
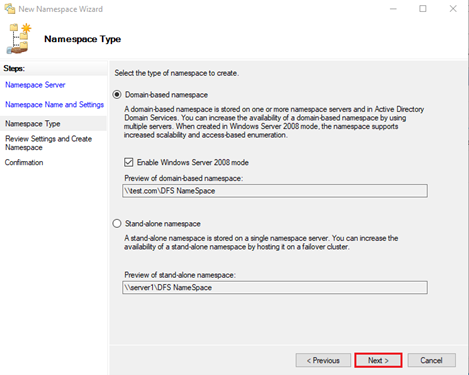
7. Just Click Next from the Namespace Type page.
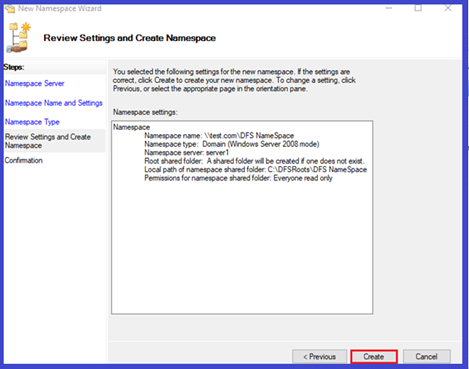
8. Click Create once the settings on Namespace has been reviewed.
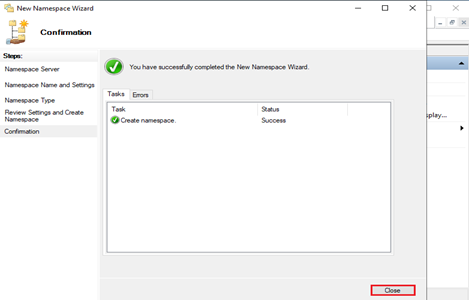
9. A confirmation that the configuration was successful will show on the next page. Just click Close to exit the window.