A dedicated server configuration created especially for hosting multiplayer Arma 3 gaming sessions is referred to as an Arma 3 server. Gamers can participate in a variety of military simulation activities in Arma 3, such as cooperative missions, role-playing games, and massive battles.
Here’s how you can setup Arma 3 Server on your Windows server:
Prerequisite for Installation:
SteamCMD
Arma 3 in its entirety as a standalone server package or in your Steam library
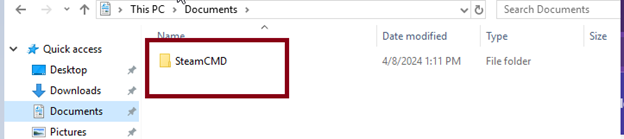
2. After downloading the zip file, make a folder in the desired place.
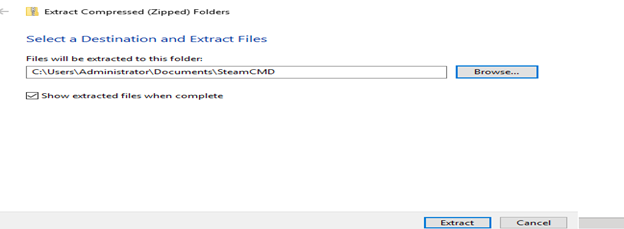
3. Extract the downloaded zip file to the the newly created folder.
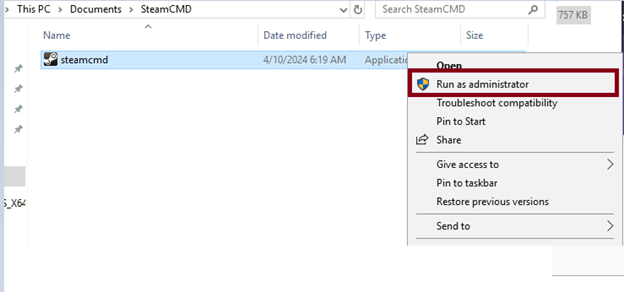
4. GO the extracted application and then “Run as Administrator” to launch it.
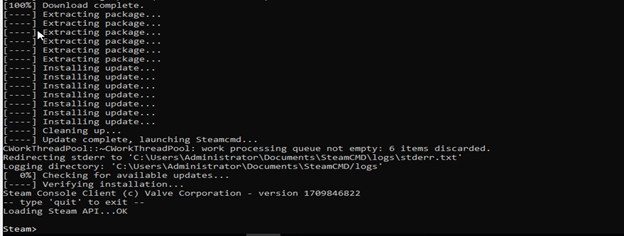
5. If the output looks like below, your installation of SteamCMD was successful.
Installing and extracting TADST
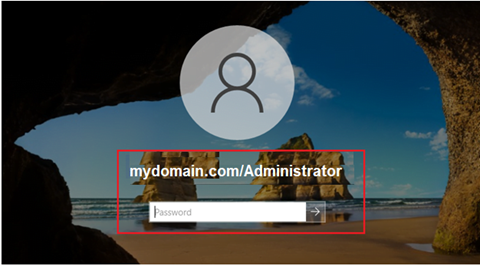
1. Login to the Steam using the username.
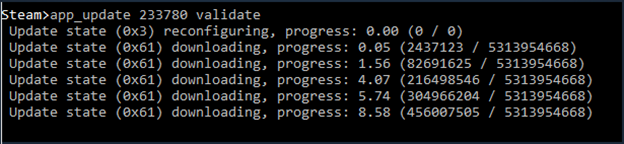
2. Run the command below to install the server files.
app_update 233780 validate
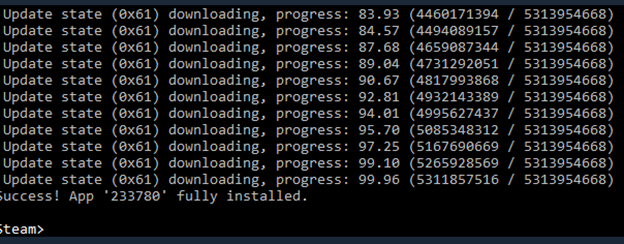
3. The download will take time. Wait to complete. A message shows in the ouput “Success! App 233780 fully installed”.
4. Navigate to the Arma 3 Server directory inside your SteamCMD folder after downloading Tophe’s Arma Dedicated Server Tool.
5. Copy or drag the file “TADST.exe” to the zip folder of TADST. TADST is now prepared for usage and configuration.
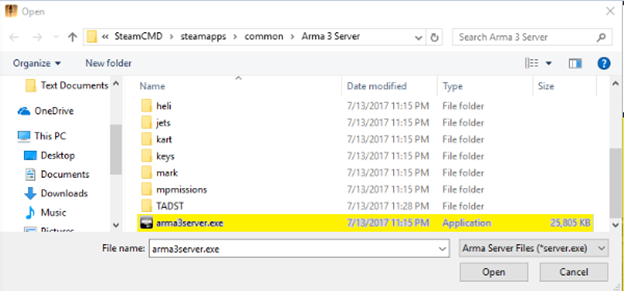
6. Configures the server file. Click the 3 dots on the right side.
7. Select the server file and click Open.
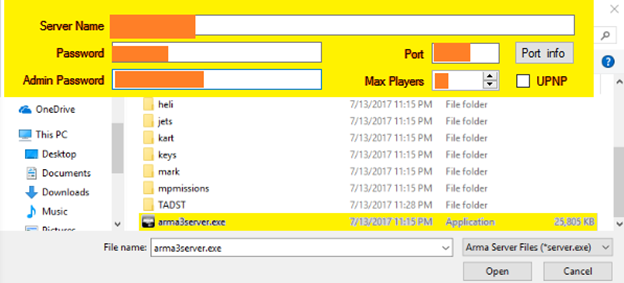
8. Configure your server as you want. Supply the needed information (highlighted in orange) and click Open.
9. Your server is now ready.
Handling and running the Server
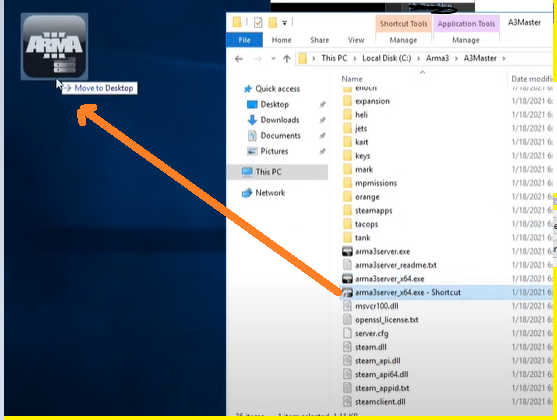
1. Put arma3server.exe on your desktop by creating a shortcut to it.
2. The launch settings can be edited by right-clicking the shortcut and entering the following: “C:\Desktop\myserver\arma\arma3server.exe” “-profiles= C:\Desktop\myserver\arma\arma3server\ARMAMaster” -port=2302 -config=arma_server.cfg -world=empty.
3. You will now need to create a text document called arma_server.cfg, which will include all of your configuration. Example configuration can be find on this link Sample config arma_server.cfg
4. Double click the shortcut you created to launch your server!